A lighting project does not always begin with a ceiling plan or a fixture schedule. In many architectural details, the first useful question is much smaller: where can a narrow, continuous source create the intended visual effect without competing with the space itself?
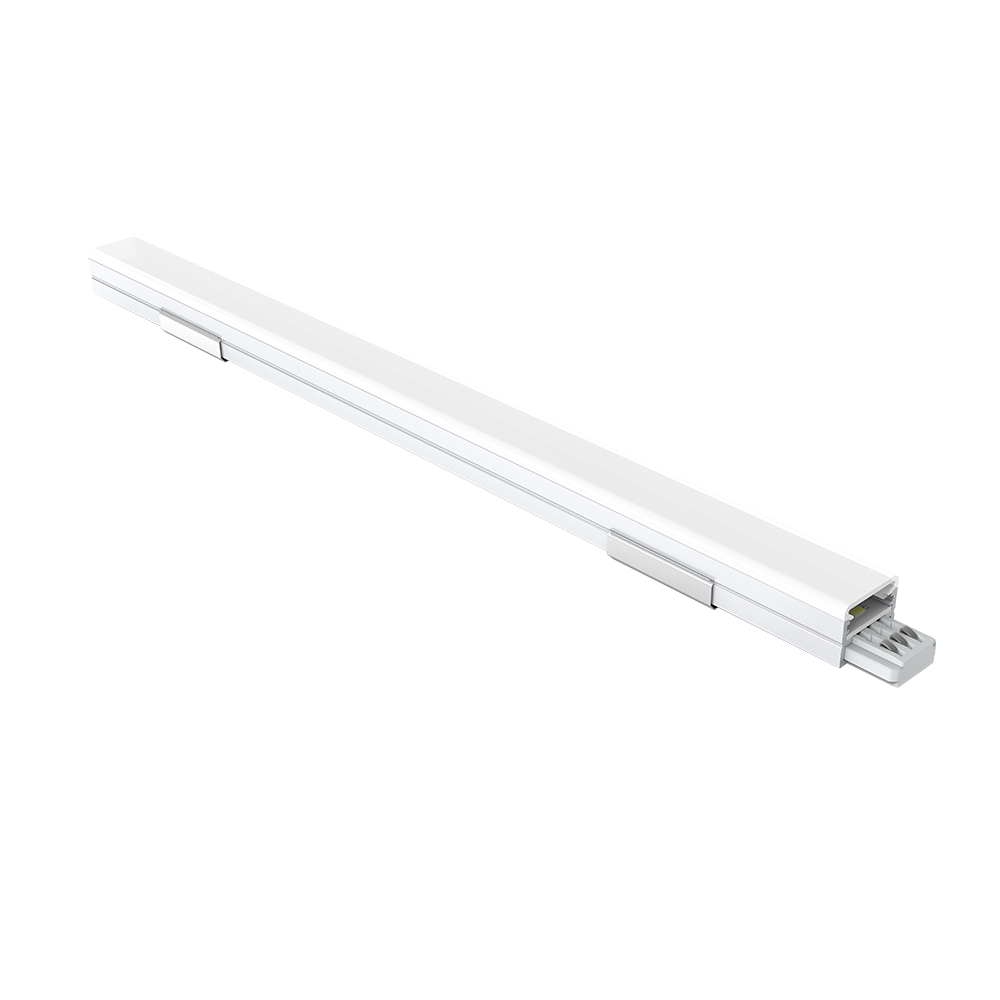
That question makes slim linear lighting a practical starting point for projects involving millwork, shelving, display structures, furniture, niches, and other constrained details. Rather than selecting a fixture first, we start by identifying the line that needs illumination, then determine how discreet, controllable, and configurable the lighting needs to be.
Find the Line Before Choosing the Light
The first step is to identify where continuous illumination actually belongs. Look at the edges, recesses, shelves, cabinets, counters, display zones, and architectural joints that could benefit from an integrated light source.
This changes the design conversation. Instead of asking, “Which fixture should we use?”, we ask, “What part of the architecture needs to read as a continuous line of light?” The answer defines the fixture length, orientation, mounting position, and connection requirements.
A slim linear light becomes particularly relevant where available installation space is limited. Its value is not simply that the housing is narrow; the compact form can make it easier to integrate lighting into details where a visibly larger luminaire would distract from the architecture.
For project managers and contractors, documenting these locations early is equally useful. Marking the intended light lines on drawings gives the electrical and installation teams a physical reference before individual components are ordered.
Decide Whether the Fixture Should Be Seen
Once the light lines are identified, the next decision is visual: should occupants notice the luminaire, or only the illumination?
Some commercial interiors intentionally expose lighting equipment. Others require the fixture to disappear into millwork or architectural detailing. For the latter situation, dimensions of the light bar, connector, controller, and mounting hardware all matter.
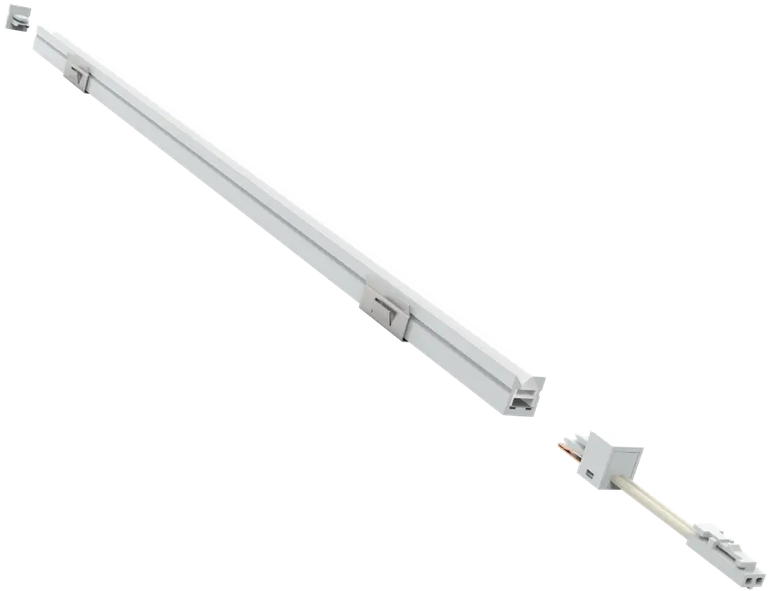
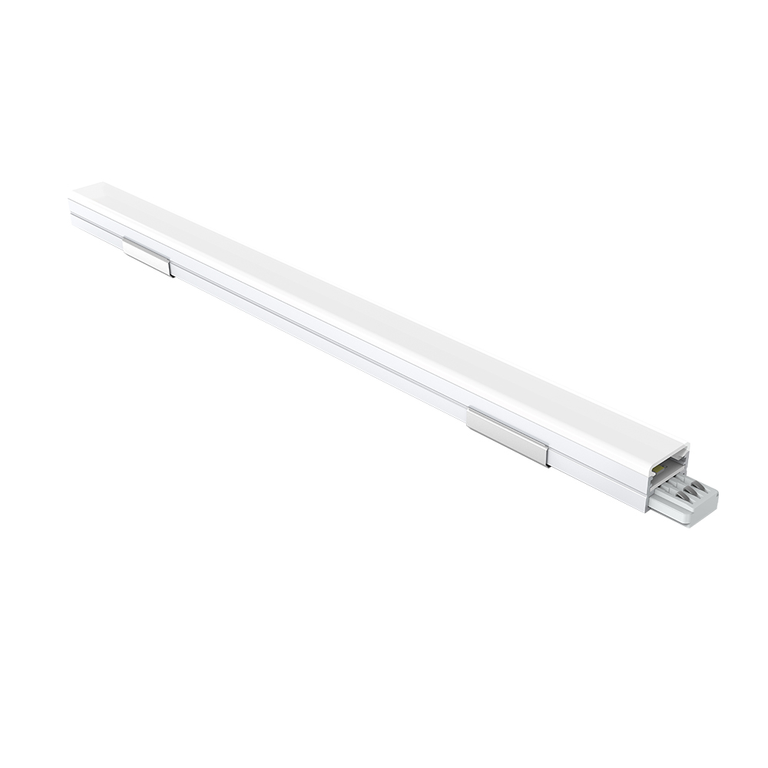
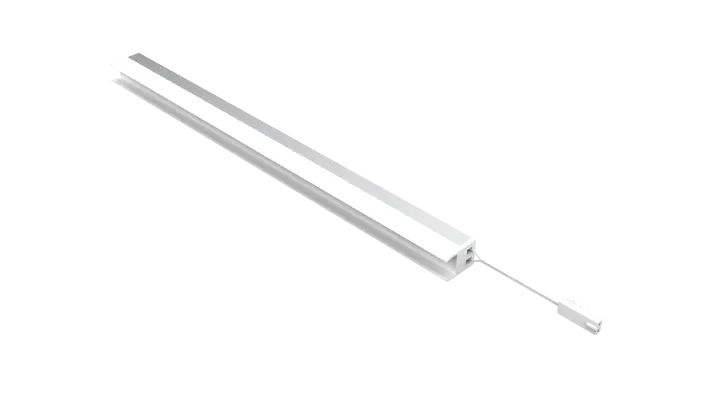
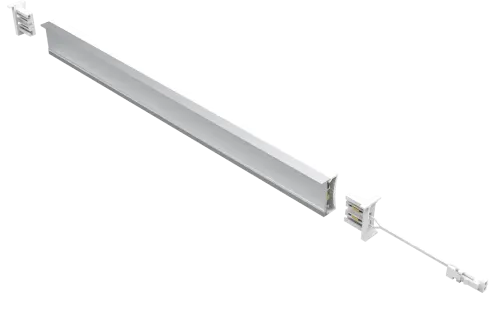
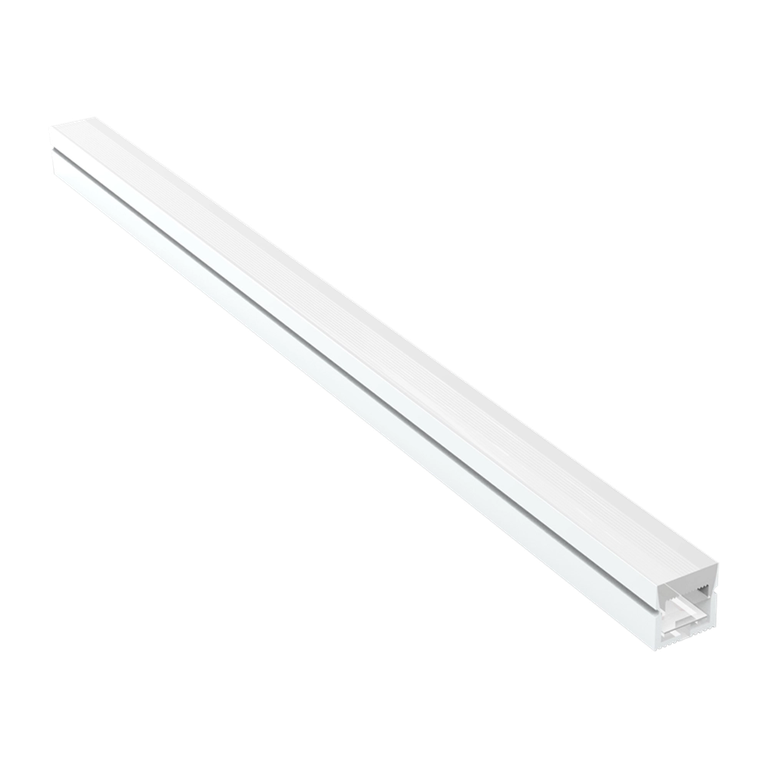
The Needle G02 Series takes this approach with an extra-thin light bar, connector, and controller. Its design is intended to provide professional illumination while reducing the visibility of the product itself. The series also uses magnetic installation, input, and connections.
Treating that characteristic as a core design constraint rather than a mere product benefit is a principle we firmly uphold. When the visual objective calls for a clean illuminated shelf or a discreet architectural edge, we ensure that every component—down to the connectors—respects and maintains that exact visual language.
Set the Lighting Behavior at the Design Stage
Physical integration solves only half of the problem. The project team also needs to decide how the light should behave after installation.
A fixed-output system may suit a straightforward installation, but spaces with changing activities can require brightness adjustment. A dimmable linear LED light is therefore worth considering during the initial control discussion rather than adding dimming after the fixture has already been selected.
The G02 Series supports TRIAC dimming and is described by the manufacturer as compatible with most wall dimmers. Actual control compatibility should still be checked against the project’s selected dimmer and electrical arrangement.
Color temperature deserves the same early attention. If the lighting needs to adapt to different commercial scenarios, specifying a fixed CCT may unnecessarily restrict the finished installation. The G02 Series provides stepless CCT adjustment, allowing the color temperature to be changed according to the intended setting.
For us at LEDIA Lighting, these decisions belong in the early design conversation because controls are part of the lighting system, not an accessory considered after installation.
Turn the Installation Geometry into a Lighting Layout
After establishing the visual and control requirements, convert the architectural line into actual fixture sections.
This is where a project can move from a concept sketch to an installation plan. Measure each illuminated section, identify breaks, locate power-entry points, and determine where connections will be required. Long continuous runs should not be assumed to behave like a single component.
The G02 Series provides multiple light-bar sizes and various connectors, with a magnetic approach to both installation and connection. That makes the physical layout an important part of the specification because the selected sections and connectors determine how the system will be assembled on site.
A dimmable linear LED light should therefore be evaluated together with its control and connection arrangement. Separating those decisions can create an attractive drawing but a difficult installation.
We recommend translating every lighting line into a simple schedule: location, required length, connection arrangement, control requirement, CCT requirement, and mounting condition. This gives contractors a much clearer starting point.
Write the Specification Around the Actual Project
Once the layout is established, the specification should describe the requirements that produced it. Avoid reducing the requirement to “thin linear LED fixture” because that does not tell the installation team why the fixture was selected or what the completed system must achieve.
For example, a project specification may need to identify the required form factor, electrical configuration, dimming method, CCT behavior, optical requirement, mounting approach, and connection arrangement. The relevant performance characteristics should then be verified against the manufacturer’s current documentation.
Material construction also belongs in this evaluation. The G02 Series uses an aluminum housing, which the manufacturer identifies as providing heat dissipation for the LED PCB. It also specifies CRI greater than Ra 90.
We use these details to connect design intent with procurement and installation. The objective is not to make the specification longer; it is to make each requirement traceable to an actual condition in the project.
Why Slim Linear Lighting Works as a Starting Point
Starting with slim linear lighting makes sense when the project is driven by architectural details rather than by a conventional fixture layout. The process begins with the physical line, then asks how visible the hardware should be, how the light needs to behave, and how the individual sections will be assembled.
That sequence prevents the product from dictating the architecture. Instead, the architectural requirement determines the product configuration.
Forging a direct, transparent path from architectural drawings to final installation is a priority we emphasize for contractors and engineering teams alike. For designers and developers, we ensure that the core visual objective remains anchored at the heart of every specification.
To achieve this, we at LEDIA Lighting advocate starting with the finished detail: identifying the desired line, defining the intended visual effect, establishing control and CCT parameters, and then shaping the fixture configuration directly around those spatial conditions.
A slim linear light is most useful when it solves a defined spatial problem. Once that problem is clear, selecting the appropriate fixture becomes considerably more straightforward—and the lighting project starts with the architecture rather than with a catalog.