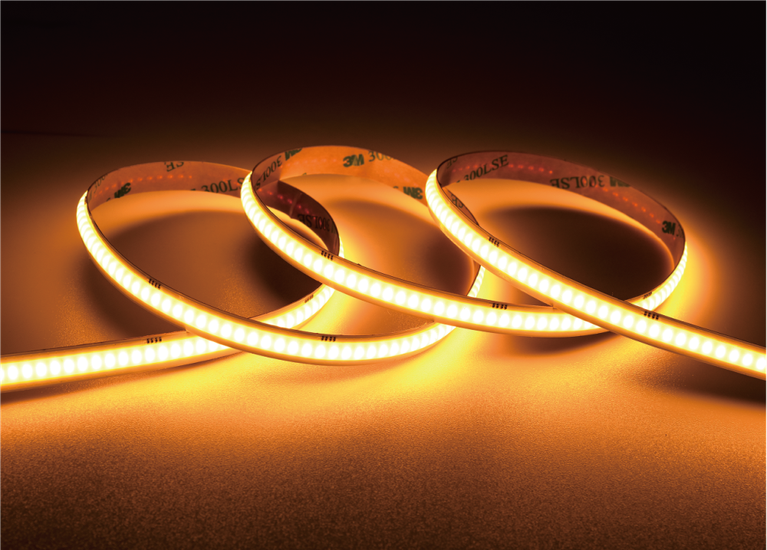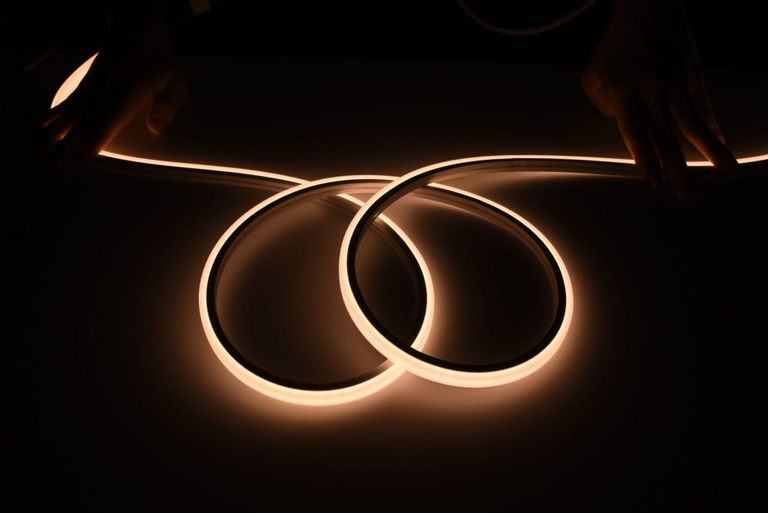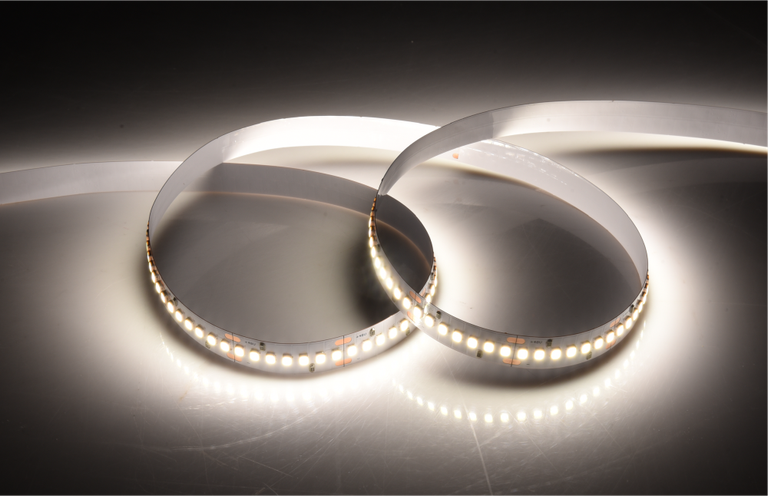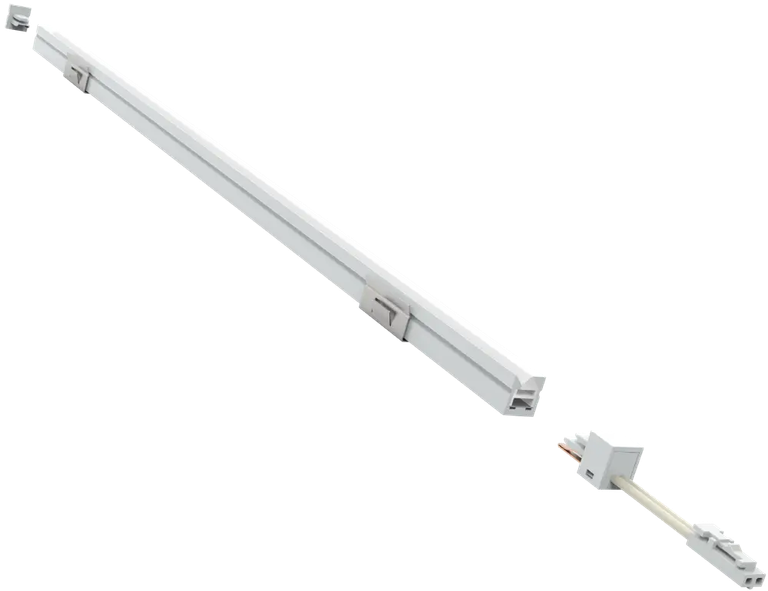
Starting an LED lighting project with a product catalogue can create unnecessary confusion. A project may need a continuous illuminated line, concealed accent lighting, a cabinet detail, or an outdoor architectural feature, yet the right starting point is not necessarily a particular strip model.
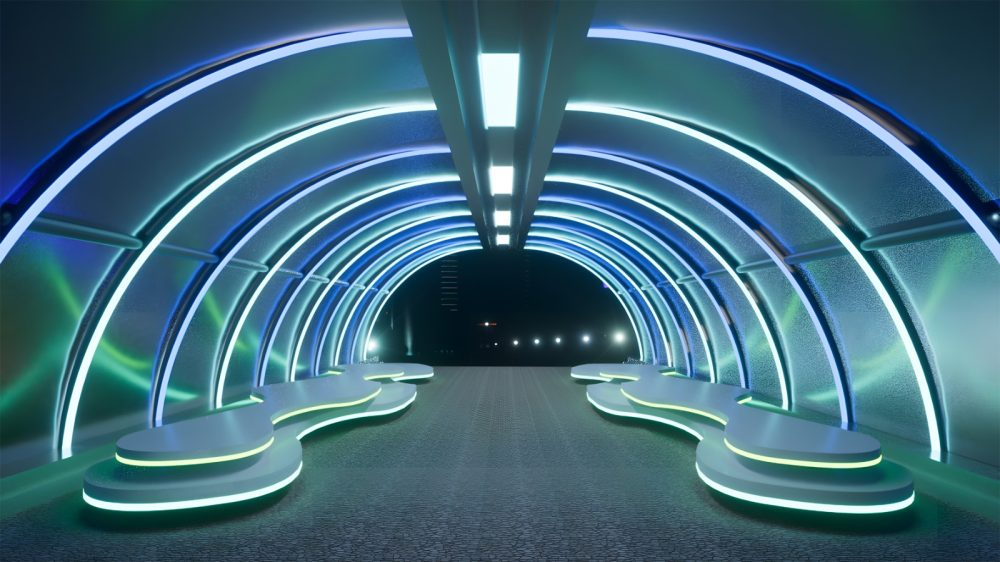
Begin with the space and the lighting result you want to achieve. With those established, choosing the right products is much easier, as the strip, power setup, mounting approach, and installation specifics can all be evaluated together as a single system.
For anyone planning LED strip light projects, the simplest path is to answer a few practical questions in the right order rather than trying to specify everything at once.
What Are You Actually Trying to Light?
The first question is not how much strip you need. It is what the light is supposed to accomplish.
A concealed strip under a counter may need to provide useful illumination, while a strip inside an architectural recess may primarily create a continuous visual line. A display, wall detail, ceiling feature, or furniture element can require a different positioning strategy even when all of them use linear LED technology.
Write down the areas that need illumination and mark their approximate dimensions. Then identify where the light will be viewed from. That information gives the project team a clearer starting point than simply selecting a product based on its appearance.
Project references can also help establish realistic installation concepts. LEDIA Lighting’s reference cases cover different environments, including residential, commercial, and public projects, showing how lighting solutions are adapted to different project settings. LEDIA Lighting reference cases
Can the Strip Follow the Space You Have?
A lighting concept may look straightforward on a drawing but become more complicated when it meets the actual architecture.
Measure each lighting run rather than estimating the total length of the project. Note corners, changes in direction, recesses, gaps, transitions, and locations where the lighting system will connect to its electrical supply.
Mounting space deserves the same attention. A narrow channel may restrict the available fixture dimensions, while an exposed installation may require a different physical arrangement from a concealed one.
Long runs also need to be considered as sections rather than one abstract line. Breaking the installation into clearly identified areas makes ordering, installation, and later troubleshooting easier.
For a contractor or project buyer, these measurements become useful information to send to the supplier. Instead of asking which strip is “best,” the conversation can focus on whether a proposed configuration physically works in the intended location.
What Has to Be Decided Alongside the Strip?
A strip should never be treated as the complete lighting solution. The finished installation depends on the components and connections surrounding it.
Power requirements need to be matched to the proposed configuration. The installation also needs a practical method of mounting and connecting the strip, particularly when the project contains multiple sections.
The project team should therefore create a basic system sketch before placing an order. Show the lighting runs, approximate lengths, power connection points, and any relevant mounting locations. Even a simple marked-up drawing can reveal problems that a product list will not.
That is where LED strip light projects differ from buying a single finished fixture. The buyer is planning an installation, not merely purchasing a light source.
LEDIA Lighting’s project information and customization resources provide a basis for discussing project-specific configurations rather than treating every installation as identical. LEDIA Lighting customization resources
Does the Installation Need to Survive an Outdoor Environment?
Moving a strip from an interior space to an exterior location changes the project discussion. The installation environment now becomes part of the product specification.
A sheltered residential feature and a fully exposed architectural installation should not automatically be treated as equivalent. The project brief should identify where the lighting will be installed and the environmental conditions it is expected to encounter.
That distinction is particularly important when comparing residential outdoor lighting companies. A supplier may have experience with outdoor projects, but the buyer should still ask for information applicable to the actual proposed configuration rather than relying on a general outdoor claim.
Outdoor linear installations also require the visual objective and environmental requirement to be considered together. The product needs to fit the architectural line while meeting the requirements established for its location.
When we share project and customization details at LEDIA Lighting, we include testing areas like environmental reliability and IP ratings. We always advise double-checking the relevant ratings and documentation for your unique product and project setup.
Why One Real Test Section Is Worth Doing First
A small physical trial can answer questions that drawings and specifications cannot.
Choose one representative section of the project and install the proposed configuration as closely as possible to the final arrangement. Then inspect it from the normal viewing position and evaluate whether the light produces the intended visual result.
The test should also include the practical side of installation. Can the strip be positioned correctly? Are connections accessible? Does the mounting arrangement work with the substrate? Does the finished appearance match the project team’s expectation?
A successful test gives the buyer more than confidence in the product. It establishes a reference configuration that can be repeated across similar areas.
We use this kind of project thinking because a lighting solution should be judged in its intended environment, not only on a specification sheet. For larger projects, confirming one representative installation before repeating it can reduce avoidable changes later.
What Should the Final Project Specification Contain?
Once the test section is accepted, turn what worked into a clear project specification.
Record the selected product configuration, required lengths, installation locations, connection arrangements, mounting details, and any environmental requirements. If the project includes several different installation conditions, document each configuration separately instead of forcing everything into one generic specification.
A good specification should allow another member of the project team to understand what is being ordered without reconstructing the original design conversation.
The same principle applies when working with residential outdoor lighting companies or other suppliers on multi-area projects. Clear documentation makes it easier for procurement teams to order the correct configuration and for installers to reproduce the approved setup.
Tailored to actual project requirements, we at LEDIA Lighting provide application-specific references and customization capabilities, giving buyers a solid starting point for solution discussions.
A practical way to get started is therefore not to begin with the strip itself. Define what needs to be illuminated, map where the lighting must physically go, identify the supporting system, and separate indoor and outdoor requirements where necessary. A representative test can then confirm the design before it is repeated throughout the project.
For project buyers, that sequence turns a broad lighting idea into something much more manageable: a defined installation, a verified configuration, and a specification that the purchasing and installation teams can actually work from.