A project-based LED strip plan should begin with the space, not with a product list. Each location creates a different lighting task and installation condition.

That is why LED strip lighting needs to be planned as part of the project rather than purchased as a loose component. The sequence is simple: understand the space, define the lighting role, select the format, coordinate installation, confirm samples, and move toward production.
Map The Space Before Choosing The Strip
The first drawing should show where light is actually needed. A kitchen counter, stair edge, cabinet interior, ceiling recess, display shelf, or architectural reveal may all require different placement.
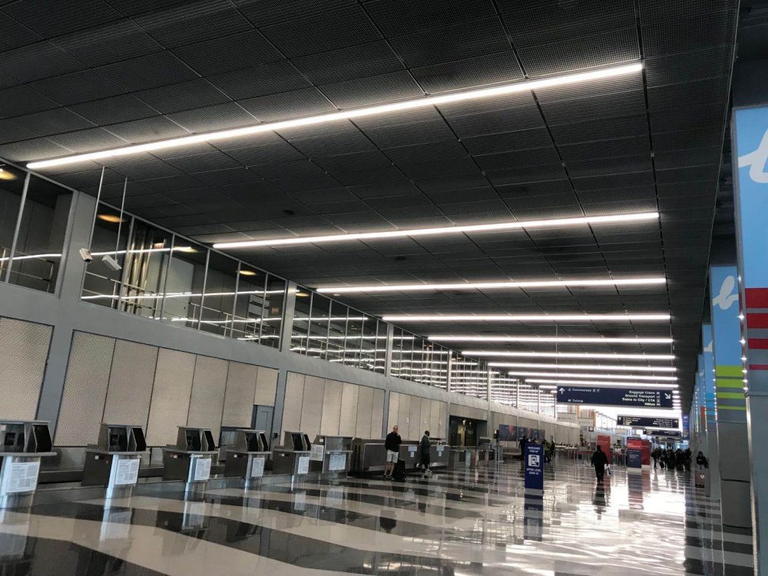
Projects across commercial, public, and residential sectors show that LEDIA Lighting’s linear fixtures are tailored to fit specific environments rather than treated as a one-size-fits-all solution.
In any LED strip project, success depends on more than just calculating length. It requires looking at how each run coordinates with surrounding surfaces, furniture, pathways, and visual design.
Give Every Run A Specific Lighting Job
Once the space is mapped, each run needs a defined purpose. One strip may provide task illumination under a cabinet, another may outline an architectural feature, while another creates a softer layer around a room.
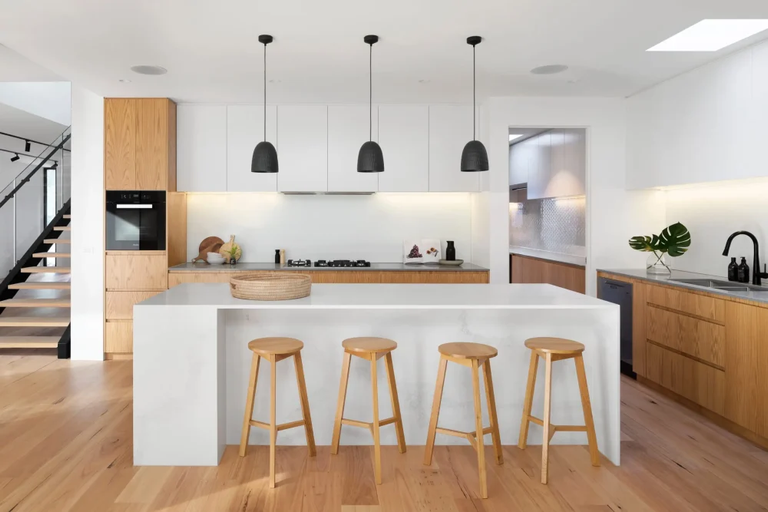
Residential projects show why this distinction matters. LEDIA Lighting identifies programmable strip lights for indoor accents and describes residential uses that include under-cabinet, stair-tread, and closet lighting.
Match The Strip Form To The Installation
The physical shape of the strip should follow the space. Straight channels, narrow recesses, curved details, and exposed architectural edges do not necessarily call for the same construction.
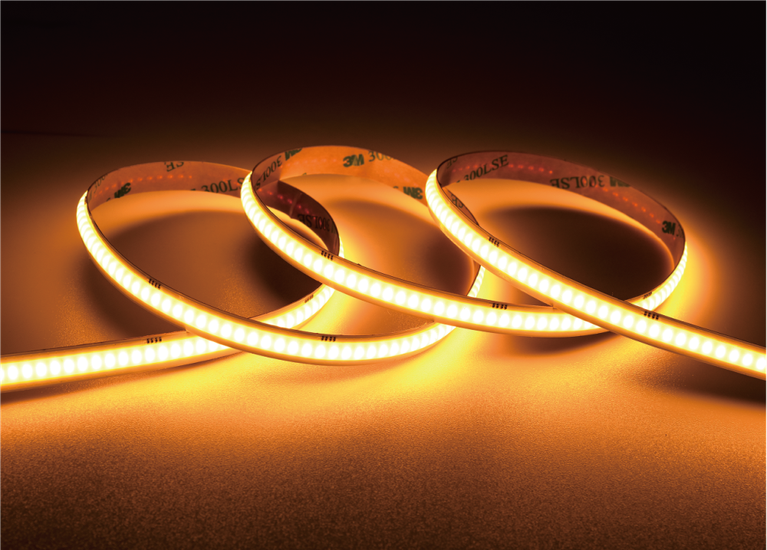
Silicone strip products, for example, are described by LEDIA Lighting as bendable and suitable for different scenarios, with weather-resistant silicone construction available for outdoor use.
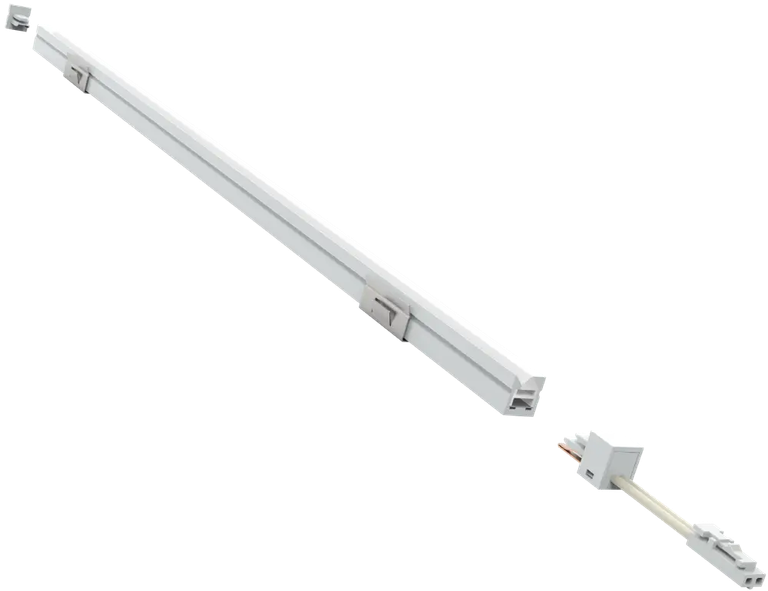
That makes installation geometry an early product-selection question. A flexible product may simplify a curved detail, while another may need a profile-based solution for a controlled linear appearance.
Treat Length As An Installation Decision
Strip quantity should be calculated from actual site dimensions rather than estimated from room size. A long cabinet, stair flight, or cove may contain several separate runs, each with its own start point, endpoint, and connection requirement.
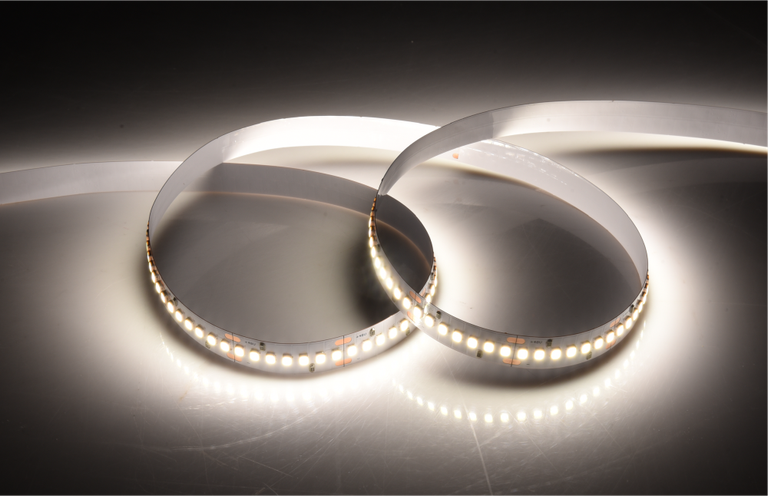
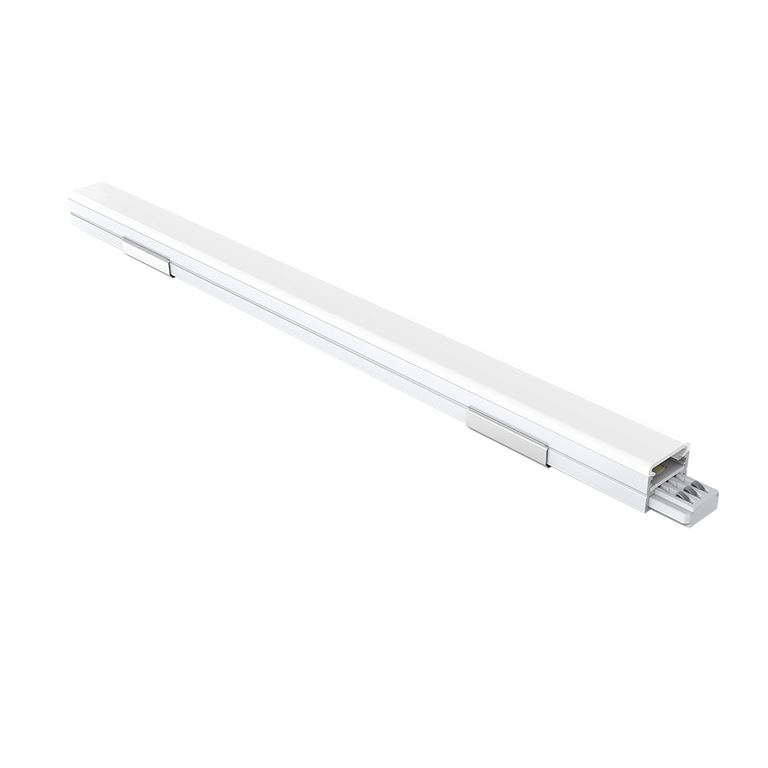
Cutting and connection details also matter. The published strip-light catalogue specifies cutting units, overall dimensions, input voltage, and power characteristics for individual products.
Keep Residential Linear Lighting Connected To The Architecture
Good residential linear lighting usually works because the light follows something already present in the room. Cabinet edges, shelves, stairs, ceilings, wardrobes, and wall details can provide natural locations for concealed or visible linear light.
Residential reference material describes customizable factors including brightness, lighting color, working mode, color temperature, size, shape, and CRI.
Coordinate Power And Connections Before The Site Team Arrives
A lighting line may look simple on a drawing while requiring careful coordination behind the surface. Power supplies, connection points, cable routes, profiles, and access all need consideration before finishes are closed.
Project-based LED strip lighting also benefits from a defined connection strategy. Project-selection guidance emphasizes understanding installation conditions and maintenance needs when selecting lighting for real applications.
Leaving these decisions until installation can create unnecessary cutting, rewiring, or changes to finished surfaces. A coordinated drawing gives the installer a clearer sequence.
Confirm The Sample Before Repeating It Across The Project
A sample is more than a color check. It allows the project team to examine the actual light effect, physical dimensions, installation position, and relationship between the strip and surrounding material.
The manufacturer’s customization process moves from consultation and design to sample confirmation, mass production, and delivery.
That sequence becomes particularly useful when the same detail will appear repeatedly. Once the sample is approved, the specification can be reproduced rather than redesigned during every installation.
Turn The Approved Detail Into A Production Plan
After the sample is confirmed, the project needs a clear production reference. Each lighting run should be connected to a location, length, product configuration, power requirement, and installation detail.
This is where LED strip light projects move from design intent into controlled procurement. A zone-by-zone schedule can show which product belongs to each location, reducing the risk of mixing configurations during delivery.
The same method works for residential linear lighting when a project contains multiple rooms or repeated details. A standardized schedule preserves consistency while leaving room for different lengths and applications.
Let The Installation Close The Loop
The final check should compare the approved drawing with the physical site. Surface dimensions, furniture positions, recess depths, power locations, and access conditions can all affect the final result.
Project planning becomes more reliable when installation is considered from the beginning rather than treated as the last step. The manufacturer’s project-selection guidance similarly places application conditions, installation requirements, and maintenance within the product-selection process.
This is why project teams benefit from a tailored approach—strips are chosen for how they fit the actual job site and installation requirements, rather than just catching an eye in a catalogue. Get the space, lighting role, product design, wiring, samples, and schedule working together, and the whole shift from drawing board to site installation goes off without a hitch.