Well-planned wardrobe lighting makes it easier to find clothing, organize accessories, and present cabinet interiors with a clean, modern appearance. For furniture manufacturers, interior designers, and cabinet contractors, the key is to integrate illumination into the furniture design rather than add visible fixtures after installation. By considering placement, light distribution, wiring, and installation access early, we can create practical lighting layouts that complement different wardrobe styles.
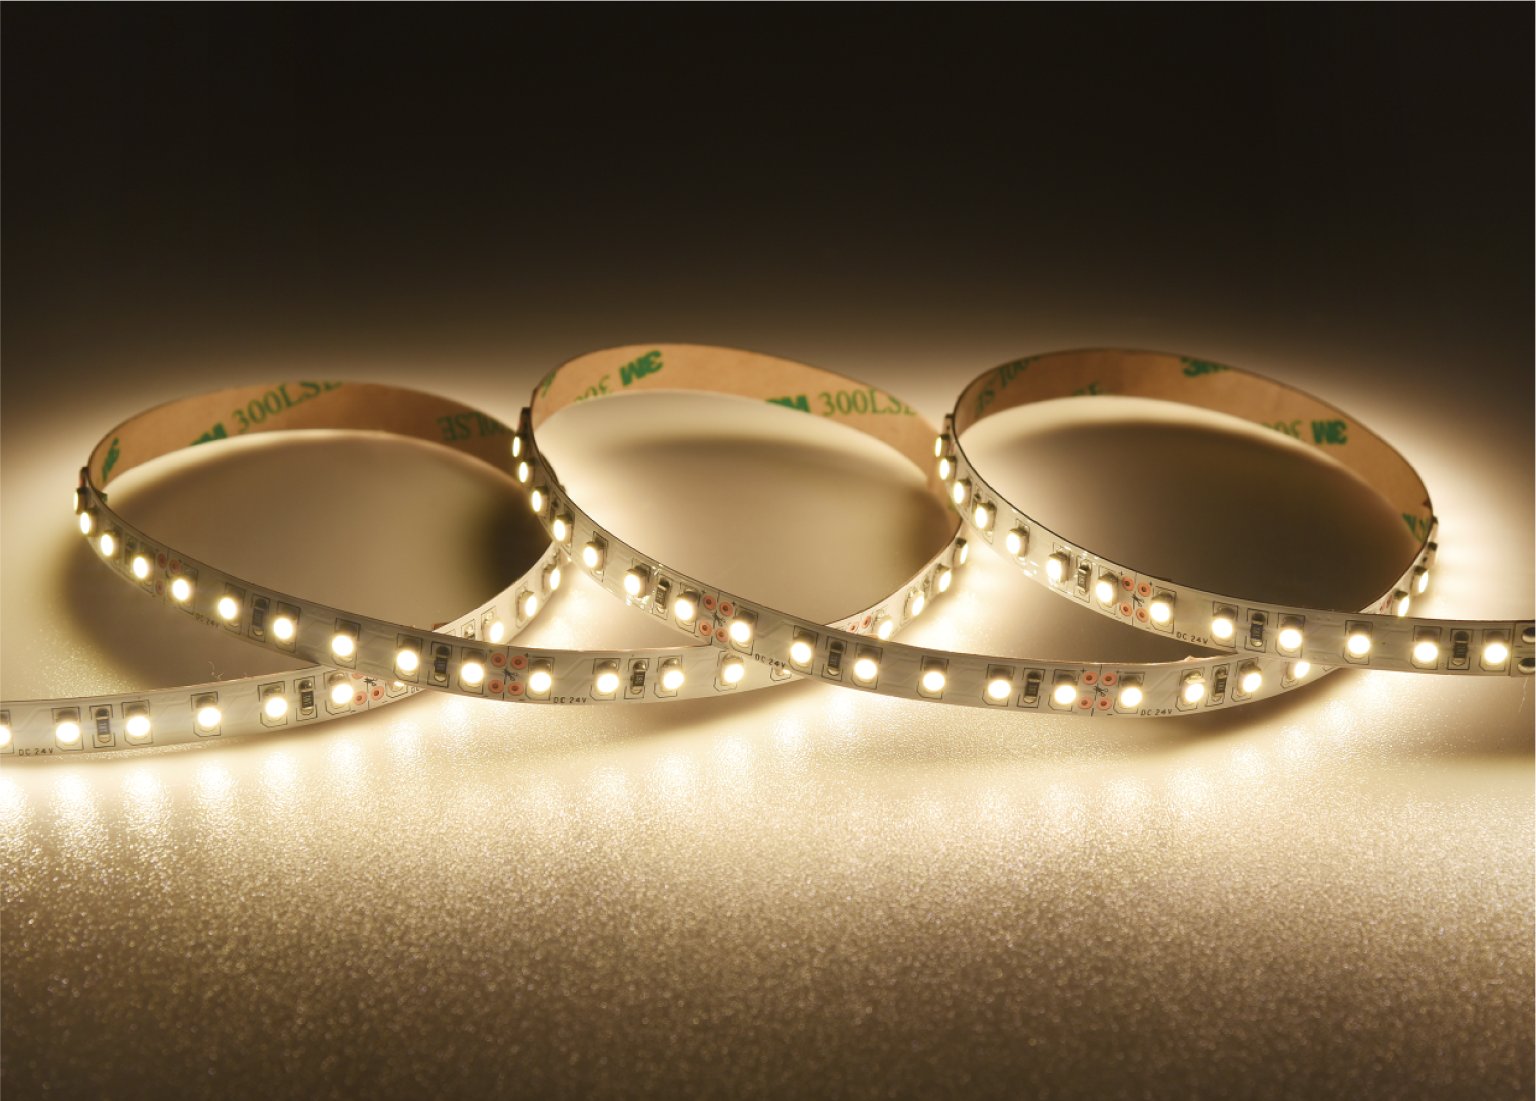
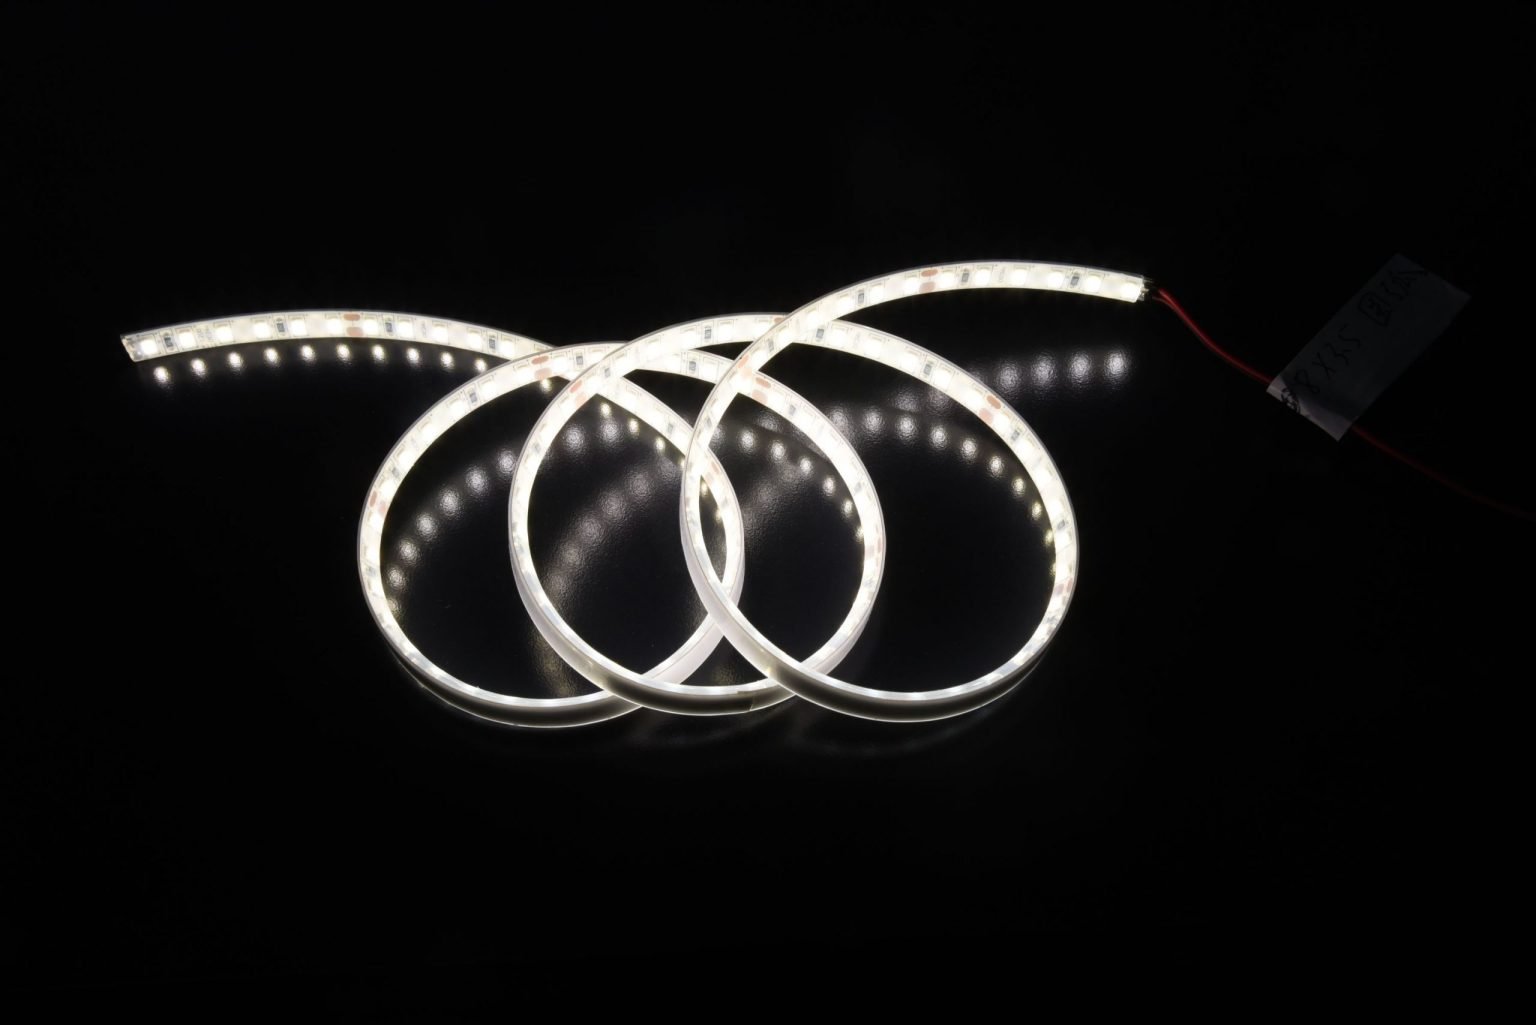
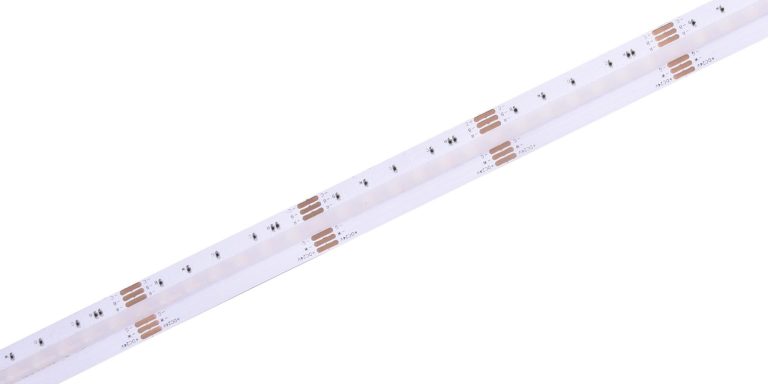
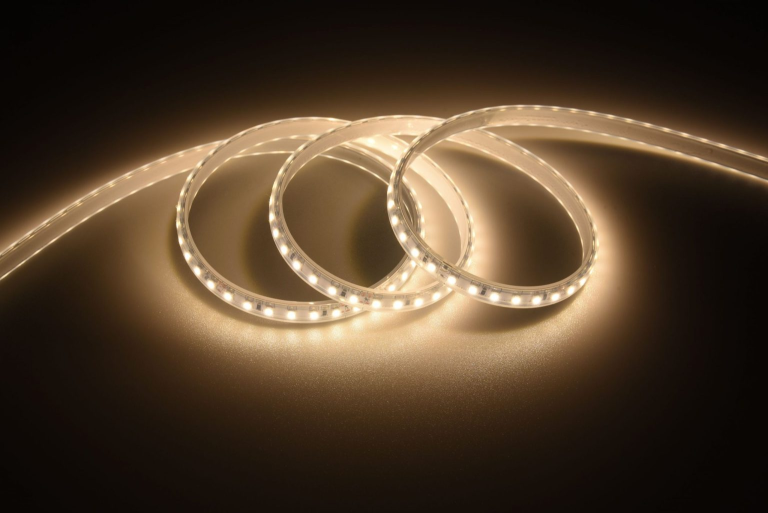
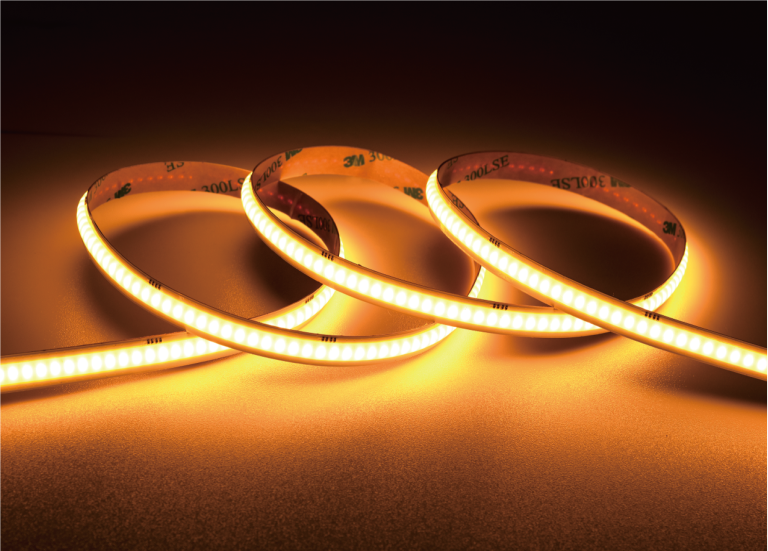
Wardrobe strip lights are particularly useful for illuminating long shelves, hanging sections, and cabinet compartments without taking up valuable storage space. When paired with a suitable aluminum profile and a carefully planned installation, they can provide a streamlined appearance for residential wardrobes, hotel furniture, and retail display cabinets.
1. Start With the Cabinet Layout
Before selecting lighting components, map the wardrobe into functional zones. Hanging rails, folded-clothing shelves, drawers, shoe compartments, and glass-front sections each have different lighting requirements. A single light near the ceiling rarely reaches every area effectively, particularly in deep cabinets or wardrobes divided into multiple compartments.
For furniture manufacturers, this planning stage is also the best time to coordinate lighting channels with panel dimensions, hinges, drawer slides, and door clearances. A simple layout drawing can identify where lights should sit, where cables can run, and which sections need independent controls.
2. Choose the Right Position for Wardrobe Strip Lights
Placement determines whether the light reaches the clothes or merely illuminates the cabinet walls. Under-shelf installation works well for hanging sections, while vertical lighting along the inside edges of a wardrobe can brighten tall compartments. For open shelving, a strip positioned near the front edge can help illuminate items below without leaving the rear of the shelf excessively bright.
When planning wardrobe strip lights, consider the viewing angle as well as the illuminated surface. Light sources that face directly toward the user can cause glare, especially on glossy cabinet finishes or glass doors. Concealed channels, suitable diffusers, and consistent positioning help produce a more comfortable, integrated appearance.
3. Use a Recessed LED Profile for a Seamless Finish
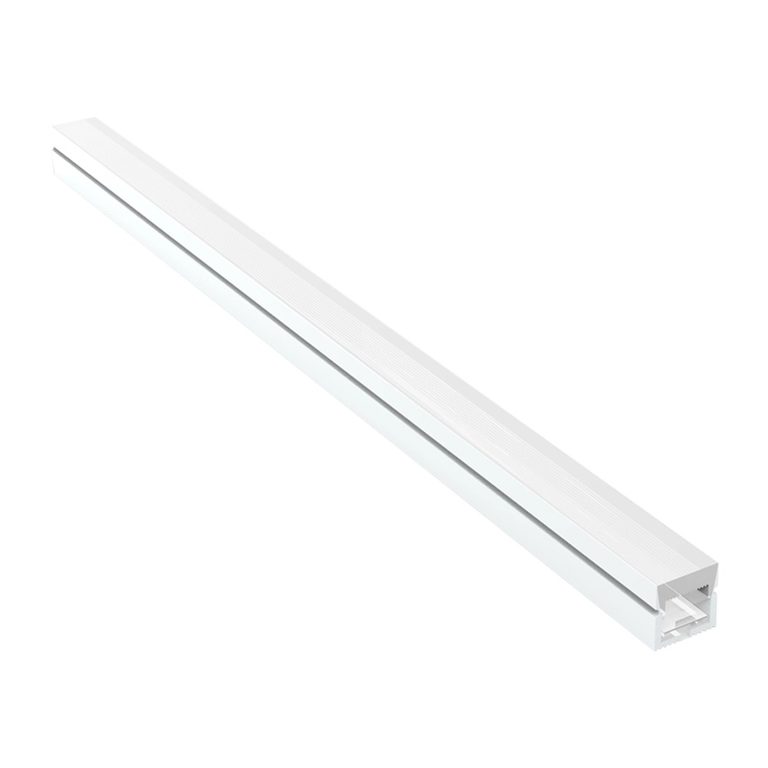
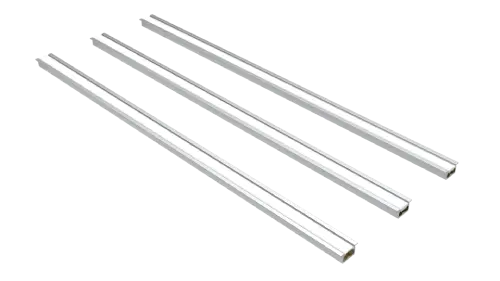
A recessed LED profile is worth considering when the project calls for lighting that sits within a cabinet panel or furniture component. Rather than leaving the light source exposed, the integrated arrangement creates a cleaner linear detail that complements handle-free wardrobes, contemporary cabinetry, and premium retail displays.
The channel dimensions must match the furniture construction. Designers should confirm the available groove depth and width, material thickness, diffuser arrangement, and access needed for installation or maintenance. A profile that looks suitable in a drawing may not fit once panel tolerances and adjoining hardware are considered.
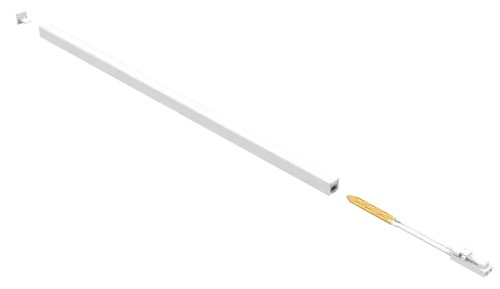
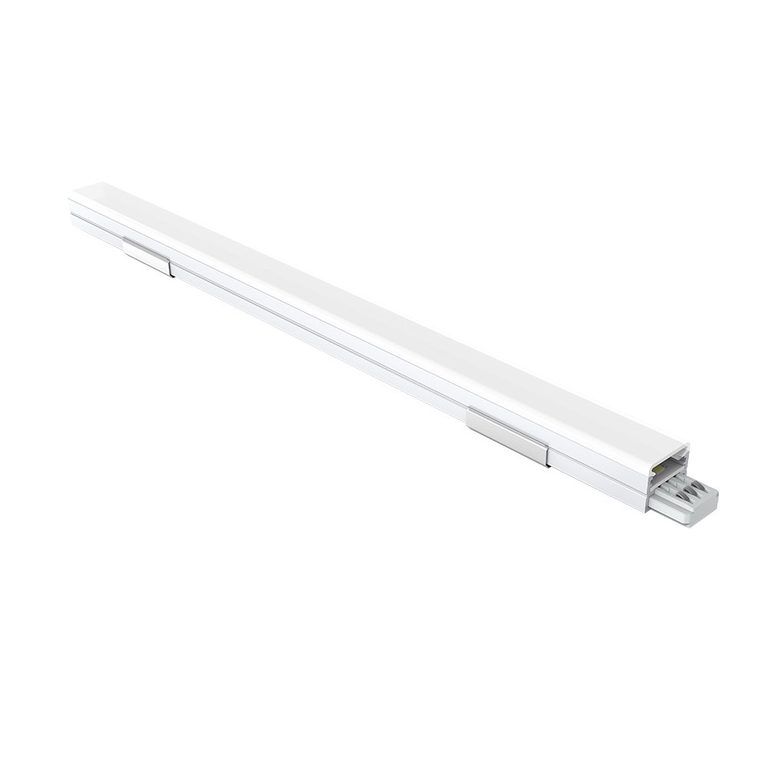
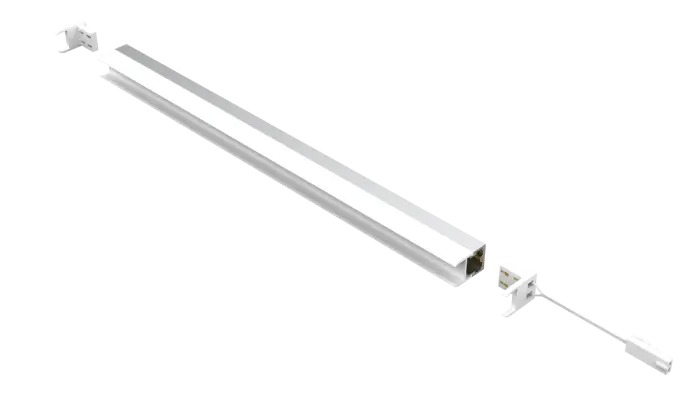
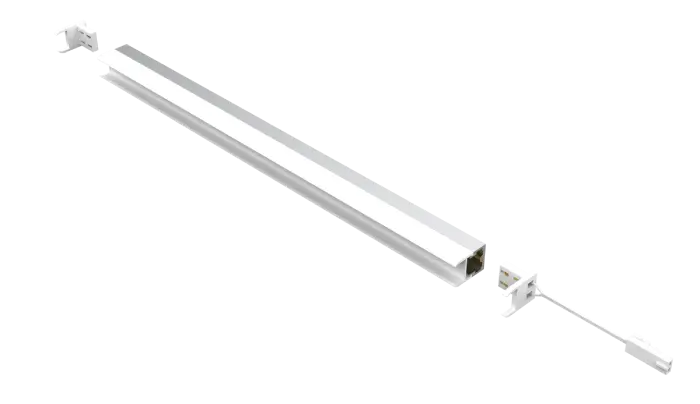
Our F02 Built-in & Free Cutting Alu Profile Strip Light is designed for furniture and retail lighting, including wardrobes, closets, shelves, kitchen cabinets, and showcase applications. Its patented quick plug-in design supports free cutting and soldering-free installation, helping project teams adapt lighting lengths to individual furniture layouts.
4. Coordinate Light Quality With Cabinet Materials
Lighting should make garments easy to distinguish while complementing the surrounding interior. Warm white can create a comfortable residential atmosphere, while neutral white may suit functional dressing areas and commercial displays. The appropriate choice depends on the room’s overall lighting, cabinet finishes, and how accurately users need to assess clothing colors.
Color rendering also matters. For wardrobes displaying garments, leather goods, or accessories, compare the color rendering index (CRI) and available photometric information before specifying a product. Where multiple strips appear together, consistent color temperature helps prevent one section from looking noticeably warmer or cooler than another.
Brightness should be evaluated in the actual cabinet geometry rather than selected by wattage alone. Shelf depth, mounting height, reflective surfaces, diffuser losses, and the distance between the light and the clothing all affect the result. Testing a representative section before production can reveal glare, shadows, or uneven illumination.
5. Plan Wiring, Switching, and Installation Access
A successful cabinet lighting scheme needs more than a suitable strip. Drivers, connectors, cable routes, switches, and sensors should be considered before furniture fabrication begins. Concealed cable channels can preserve the appearance of finished panels, while accessible connection points make troubleshooting and replacement easier.
For wardrobes with doors, consider whether a manual switch, door-contact sensor, or motion sensor best suits the application. Automatic switching can make everyday use more convenient, particularly in frequently accessed compartments. Confirm compatibility between the control system, power supply, and selected lighting components before finalizing the specification.
Our F02 design is useful when customized lengths and simplified connections are priorities. However, project teams should verify the complete installation requirements, including dimensions, electrical ratings, compatible accessories, and cutting instructions, against the applicable product documentation before ordering.
6. Standardize Details Across Production Runs
For business projects, repeatability matters as much as appearance. Establish standard details for profile positioning, cable exits, light color, and control methods across cabinet sizes. This makes production easier to document and helps installers reproduce the intended result across multiple rooms, apartments, hotels, or retail locations.
Before approving a production batch, build a sample cabinet section and inspect it with the doors open and closed. Check for visible light points, unwanted reflections, dark corners, and interference with moving hardware. Documenting the approved installation detail can also reduce communication errors between designers, manufacturers, and contractors.
Bring Your Wardrobe Lighting Plan Together
Effective cabinet illumination begins with practical decisions about placement, light quality, installation, and maintenance. By coordinating these details during furniture design, we at LEDIA Lighting can create integrated lighting that supports everyday use without compromising the cabinet’s appearance.
For projects requiring flexible integration, our F02 aluminum profile solution supports built-in furniture and retail applications, with free-cutting capability and a solder-free connection approach. Combining suitable components with a clearly documented installation plan helps furniture manufacturers and project teams deliver consistent, polished results across different cabinet configurations.