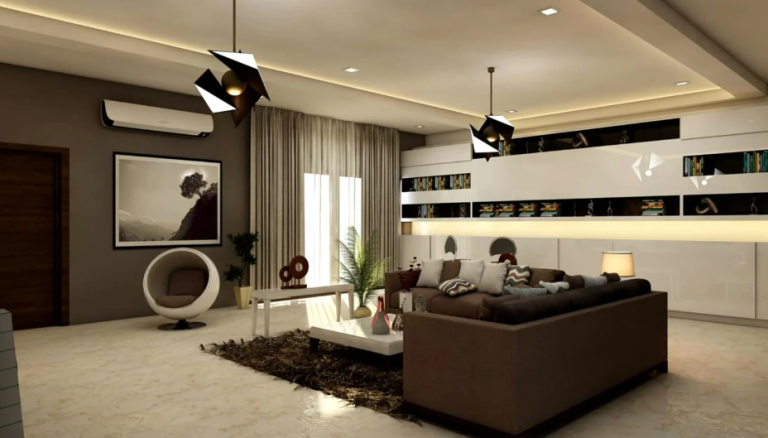
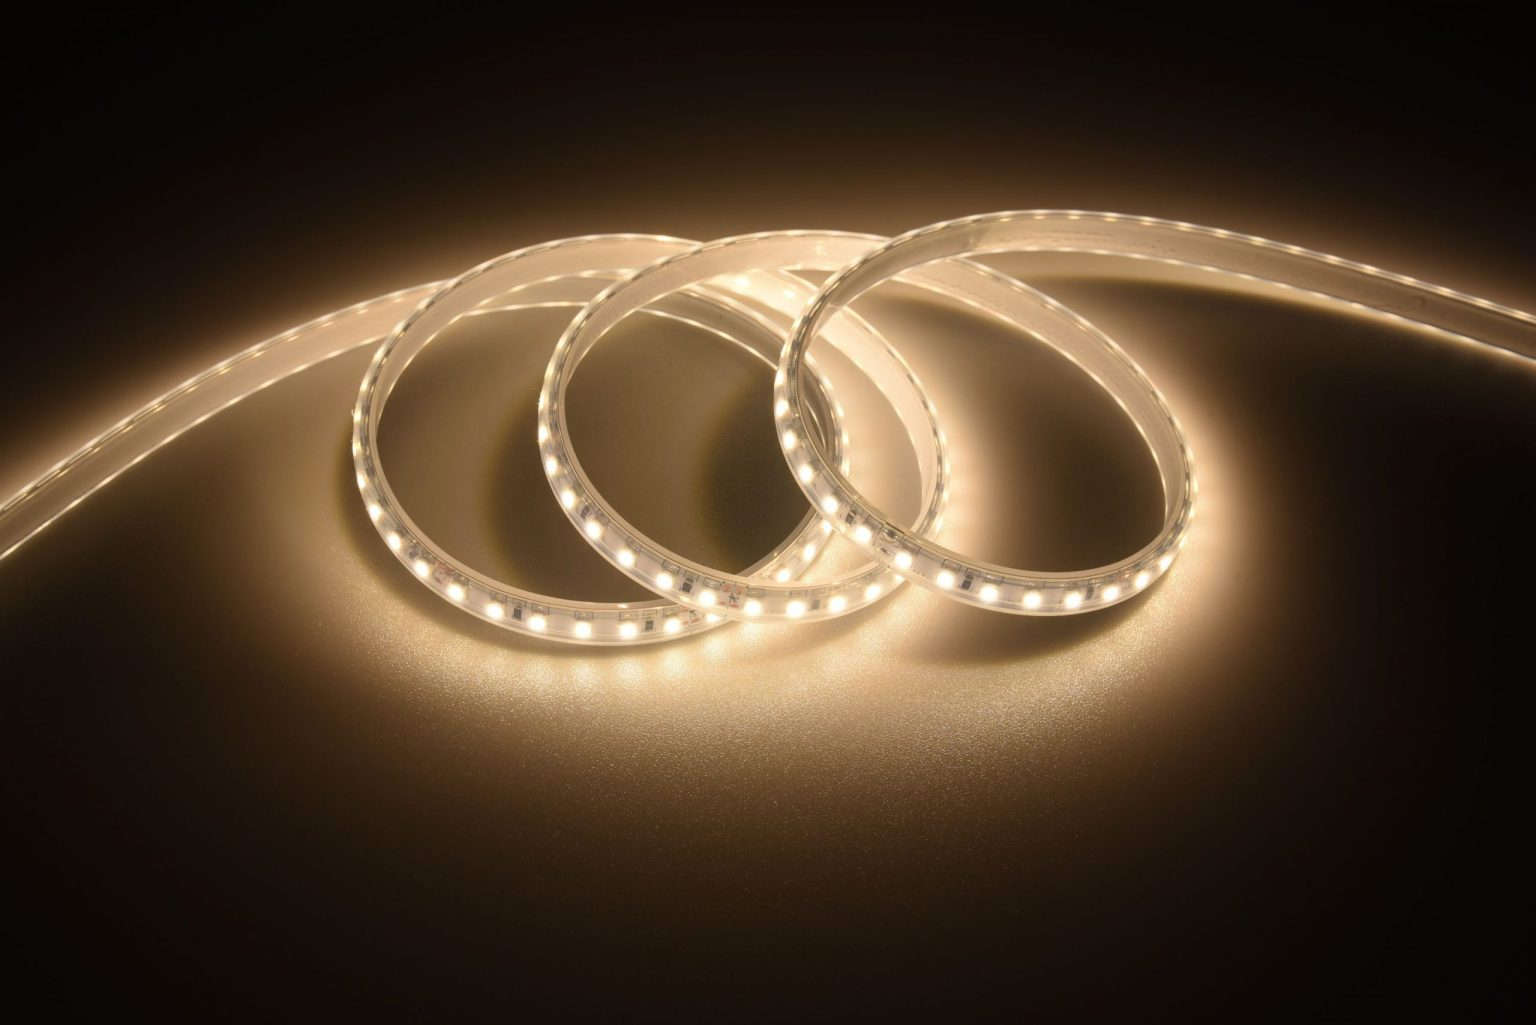
Silicone LED lighting adds continuous decorative illumination to retail displays, architectural details, hospitality spaces, and residential features. For contractors, distributors, and project planners, success depends on accurate measurements, compatible electrical components, suitable mounting surfaces, and careful handling. This guide covers the essentials of a small project using a silicone LED strip light.
Understand the Material and Choose the Right Application
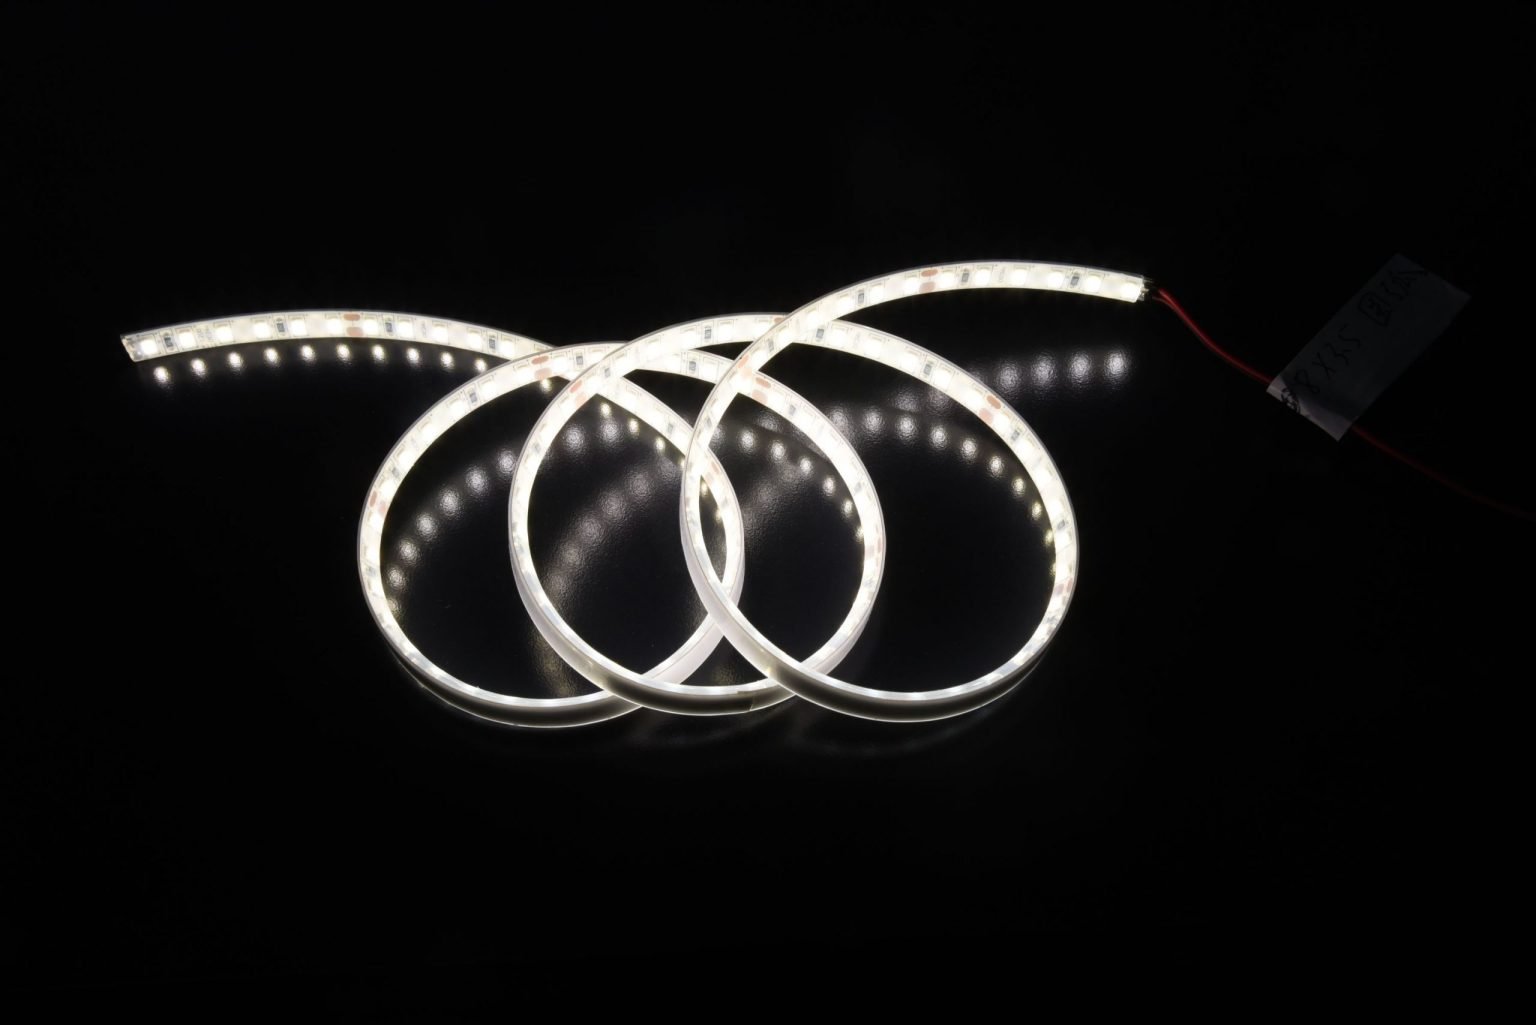
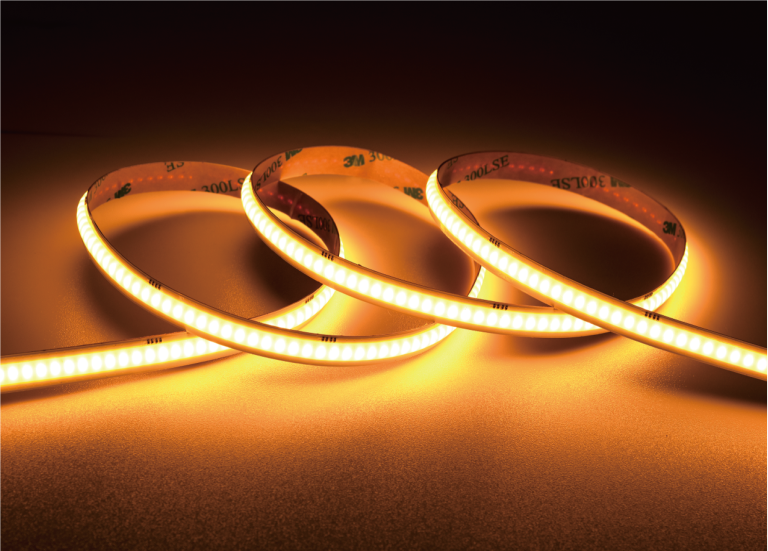
Silicone-encased lighting offers flexibility, a smooth appearance, and added environmental protection. Its profile creates a continuous neon-like line while shielding the LEDs. A flexible neon LED strip can outline signage, counters, coves, and architectural features.
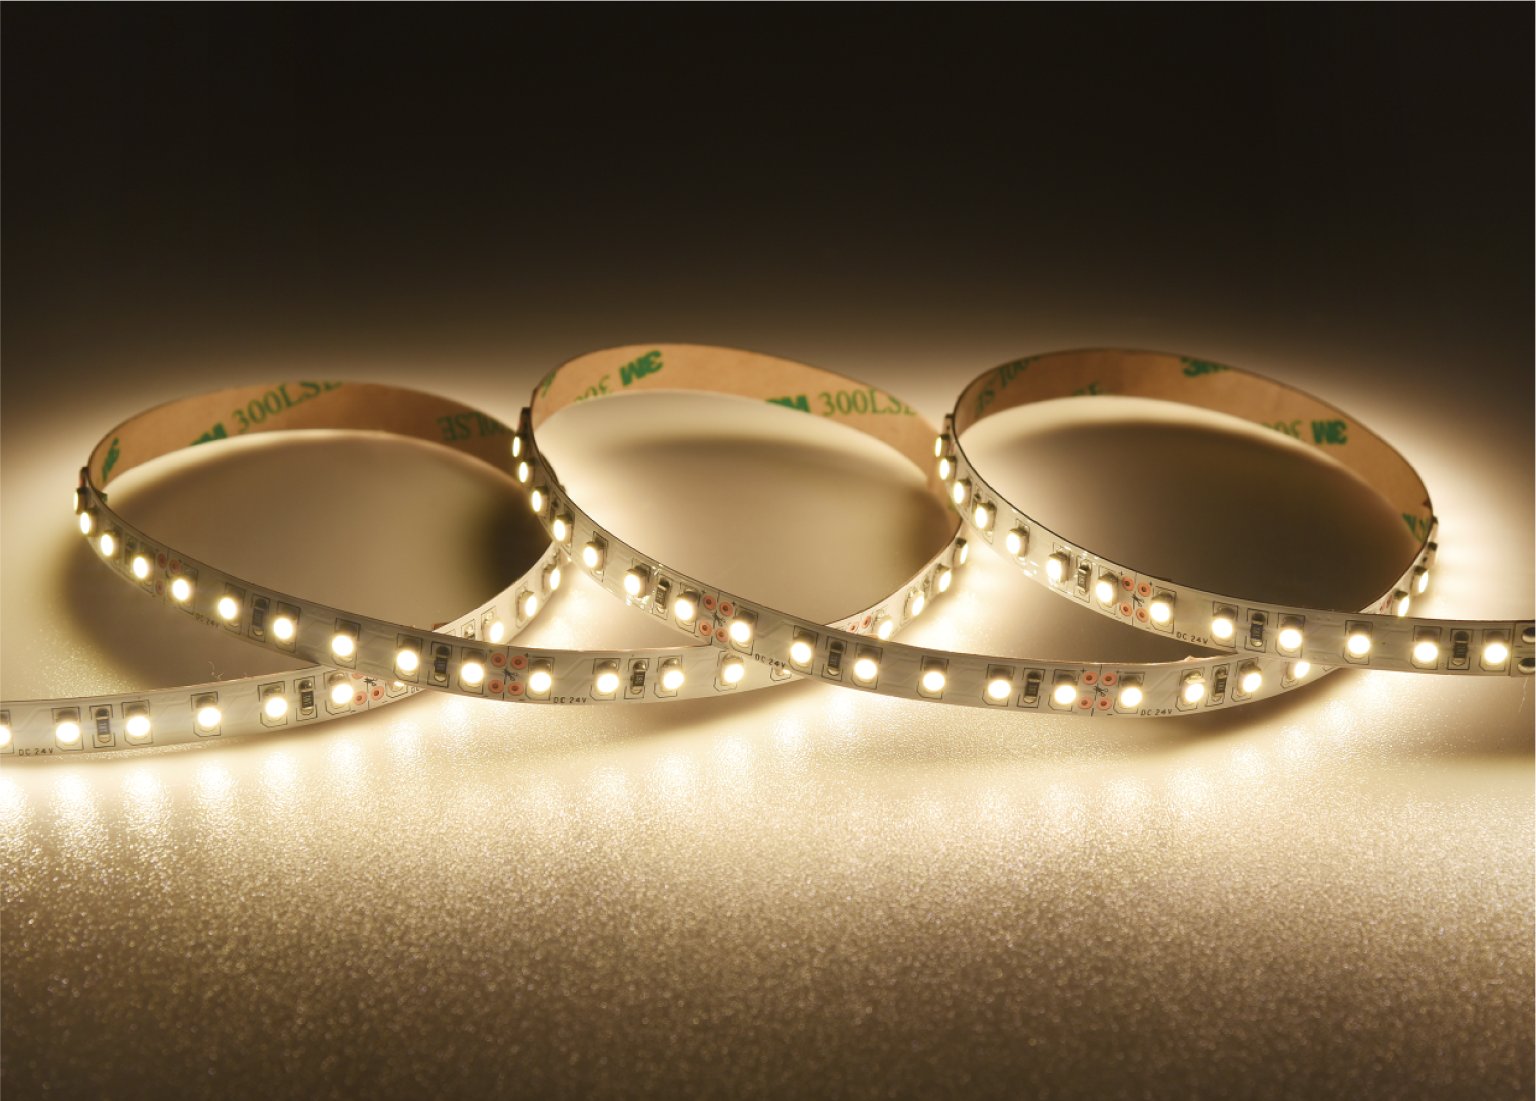
Choose a silicone LED strip light that matches its environment. Indoor displays may prioritize appearance and color temperature; outdoor projects also need suitable ingress protection, UV resistance, and operating-temperature limits. Check the IP rating against actual exposure: waterproof does not automatically mean suitable for permanent underwater use.
Plan the Layout and Measure Carefully
Sketch the route before ordering materials. Measure straight sections, corners, and returns separately, then calculate the total run. Mark the power-feed position and keep the driver, controller, and wiring accessible for maintenance.
Silicone lighting can follow gentle curves, but must not be twisted, sharply folded, or forced beyond its specified bend radius. Use a simple template for corners and curves to reduce waste and keep the finished line consistent.
A flexible neon LED strip suits clean outlines, but confirm whether the profile bends horizontally, vertically, or in both directions; this depends on its construction.
For a first project, a short display shelf or shallow wall outline is easier to manage than a long perimeter installation. It allows the team to verify the light output, finish, and mounting method before scaling up. Photograph the mock-up and record the measured length, cut locations, driver model, and accessories. These details make repeat orders and later maintenance more straightforward for installers and purchasing teams.
Match the Power Supply and Accessories
Check rated voltage before purchasing a driver. The strip specification must match the power supply’s DC output; similar-looking silicone models may use different voltages.
Calculate capacity by multiplying rated watts per meter by the planned length, then add the reserve recommended by the manufacturer. For long runs, check maximum continuous length, cable distance, and voltage-drop guidance. An undersized driver or excessive run can cause uneven brightness.
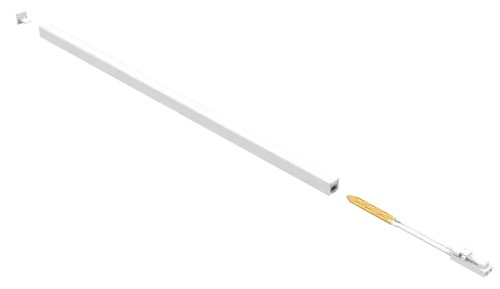
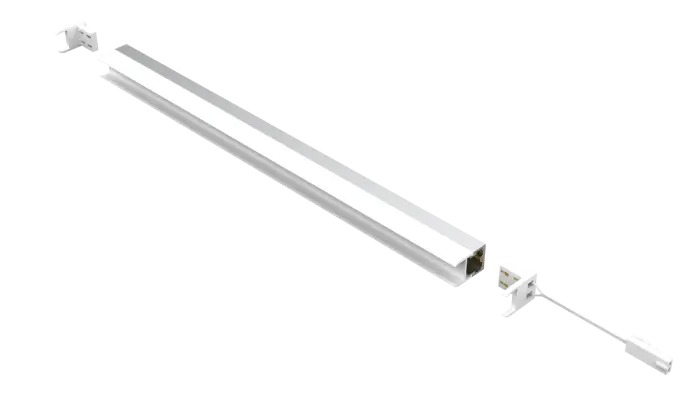
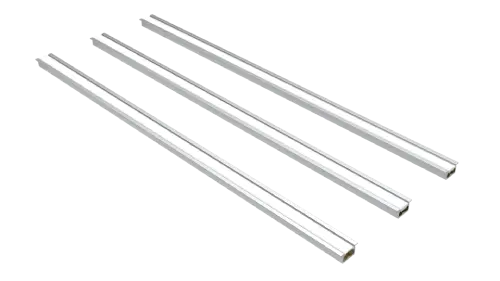
Prepare compatible connectors, wires, mounting clips or channels, and end caps. Cutting or reconnecting a sealed product can compromise waterproofing unless the specified accessories and sealing method are used. Do not assume ordinary tape-light connectors will fit.
Prepare the Surface and Cut at Marked Points
Isolate the power before installation. Clean the mounting surface until it is dry, stable, and free from dust, grease, and loose paint. Position the strip temporarily to check alignment and cable reach.
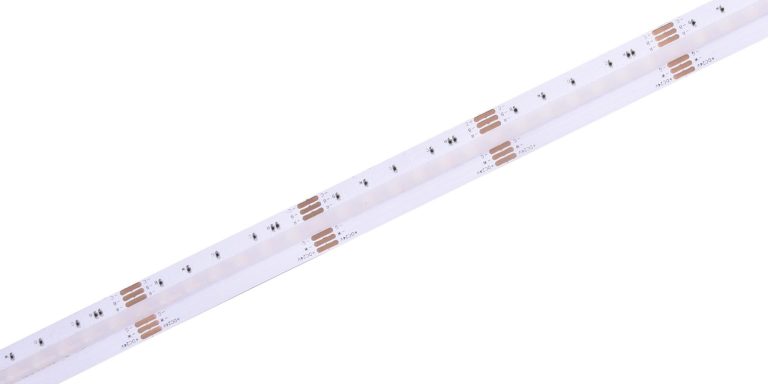
If the strip needs shortening, cut only at the manufacturer’s designated marks. For LEDIA Lighting‘s LD-FR-SJT-24V-XXX-180-11.5*4.5 (Hollow Arc), the specified cutting unit is every six LEDs. Measure twice before making the cut; cutting between marked points may damage the circuit.
After cutting, restore protection with the approved end cap, connector, and sealant. Let sealant cure as directed before moisture exposure. Use a qualified electrician for field wiring or mains connections, following local electrical codes.
Mount, Connect, and Test the Lighting
Use recommended clips, channels, or adhesive to secure the silicone LED strip light. Avoid stretching the profile; for curves, work gradually and add compatible supports. Never use fasteners that could pierce the housing.
With power disconnected, connect the strip to the driver, match polarity, check connector compatibility, and secure every joint. Keep drivers and controllers accessible and protected. After checking the wiring, power the system and inspect for dark sections, flicker, loose connections, or uneven illumination.
Test dimming and control functions before final fixing. For larger projects, document wiring and component ratings for future maintenance.
A Product Example for Small Projects
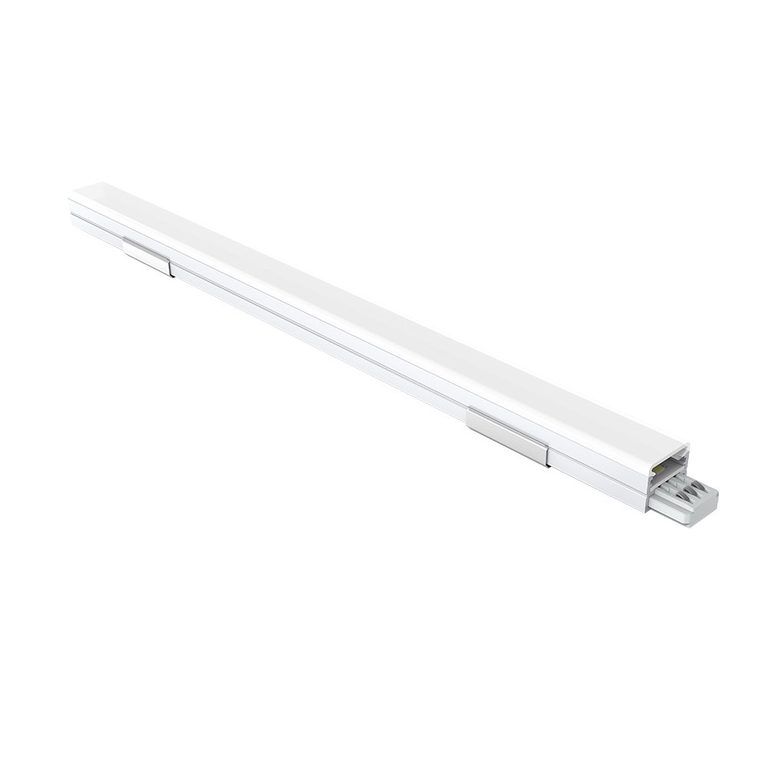
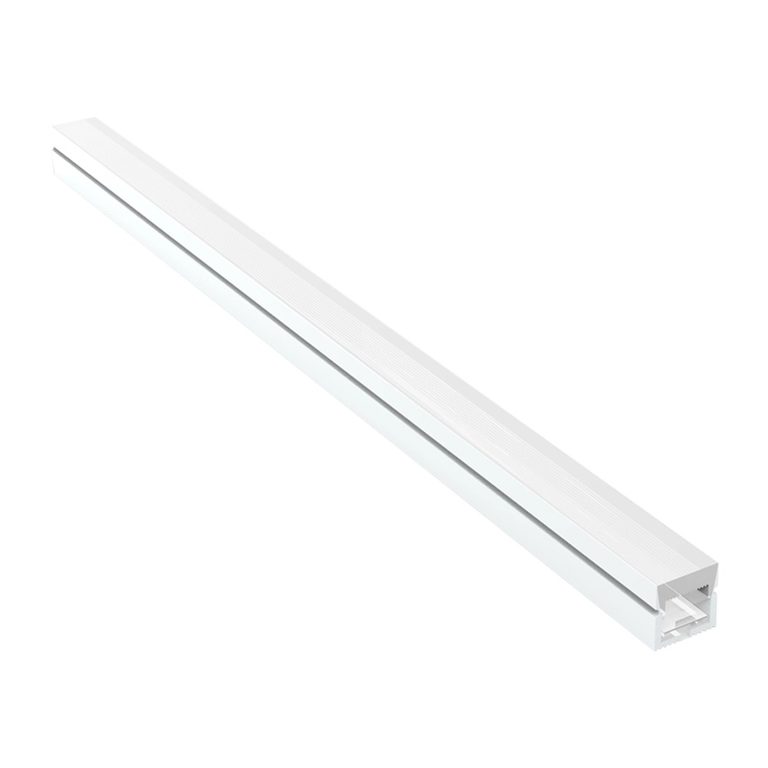
At LEDIA Lighting, we offer the LD-FR-SJT-24V-XXX-180-11.5*4.5 (Hollow Arc) for decorative and general lighting. Its silicone body has a smooth, crystal-like finish and a flat surface with a wide beam angle. It can be cut every six LEDs and adapted to project lengths when sealed as instructed.
A flexible neon LED strip can define signage, display edges, and architectural accents. This makes a flexible neon LED strip a useful option for projects requiring smooth illuminated contours. Our silicone range serves indoor and outdoor applications subject to each model’s ratings and installation requirements.
Build a Reliable Result from the First Step
A reliable silicone LED strip light project depends on planning, correct electrical matching, careful cutting, and suitable mounting. Check product data before work begins and test connections before final fixing. Whether preparing a sample display or specifying a commercial installation, select components as a complete system and follow the manufacturer’s instructions.