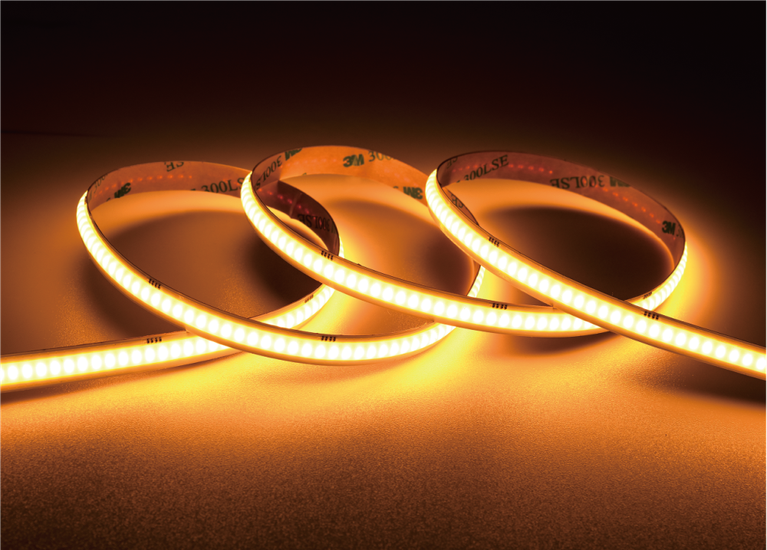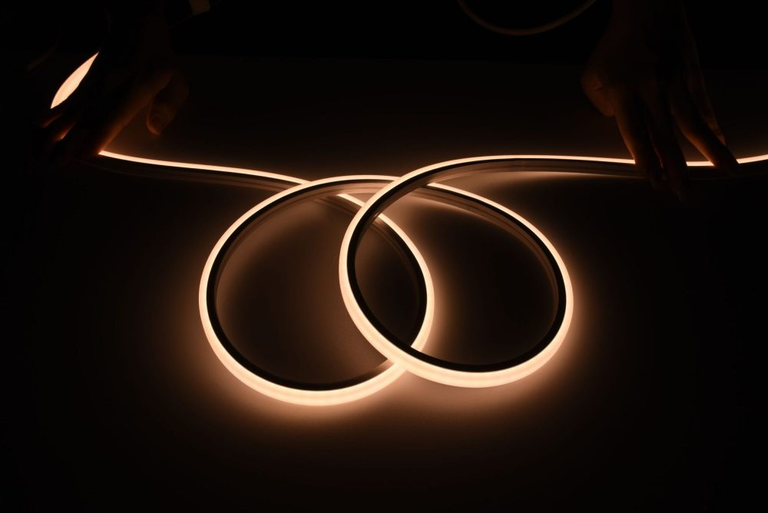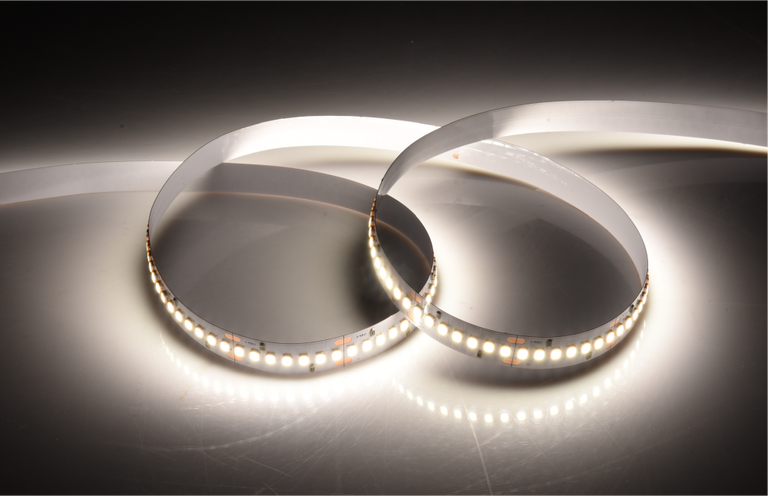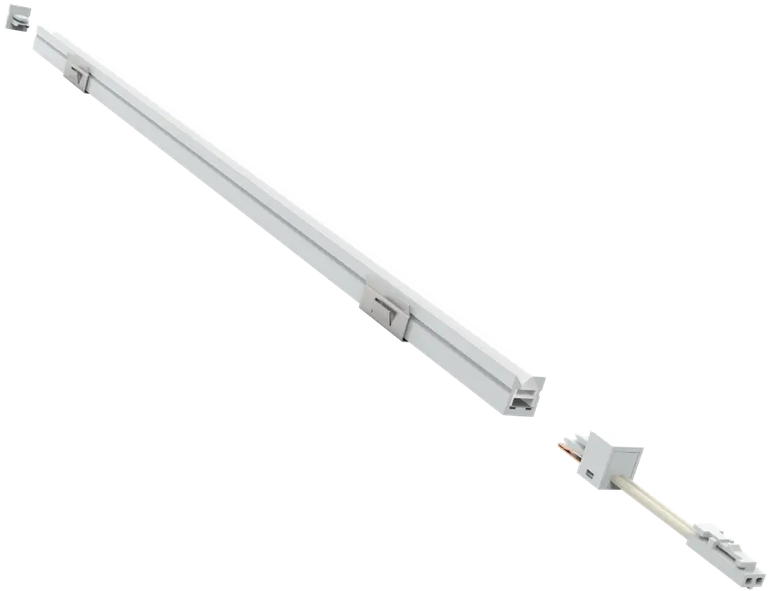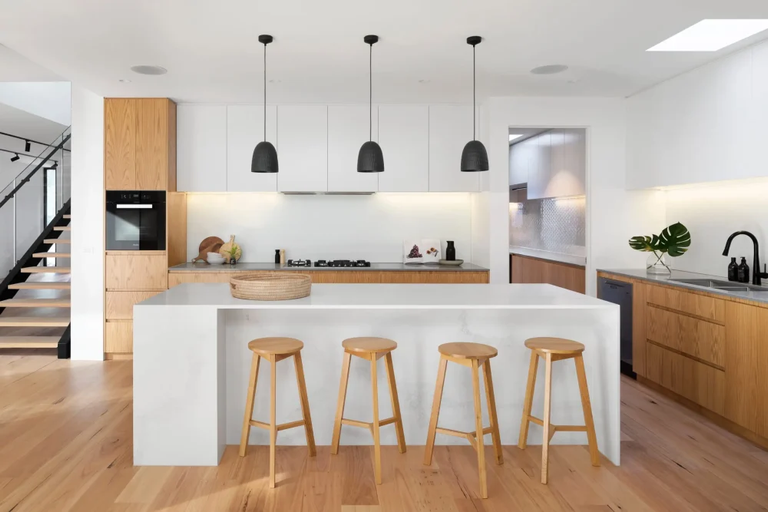
Furniture lighting often looks effortless after installation. A wardrobe has a clean illuminated edge, a kitchen cabinet gives off an even line of light, or a retail display seems to glow directly from its structure. Getting that result, however, starts well before the installer connects the first light.
The lighting needs to be considered while the furniture is still being designed. Space, dimensions, mounting details, cable routes, and the intended visual effect all influence the final product choice. For project teams using LED light strips for furniture, the most reliable approach is to move from the furniture drawing to the lighting specification, rather than trying to fit a finished lighting product into the furniture afterward.
The Furniture Drawing Should Define the Lighting Route
A furniture project already contains most of the information needed to begin the lighting plan. The cabinet width, shelf position, door movement, panel thickness, and visible edges establish where illumination can realistically be installed.
Consider a wardrobe with lighting beneath each shelf. The light needs to follow the shelf length while remaining clear of doors and stored items. A kitchen cabinet may need a continuous line underneath the cabinet body, while a retail display could require lighting around a recessed product area.
These are different physical situations even if all three use linear lighting. AtLEDIA Lighting, our furniture category is specifically organized around built-in furniture lighting, with F-series aluminum-profile products and E-series built-in silicone products listed for furniture applications.
Starting with the drawing also makes procurement more precise. Instead of ordering a generic strip and deciding where it can be installed later, the project team can identify the required lighting route first and select a fixture that belongs within that route.
A Recessed Detail Calls for a Different Light Format
The next question is how the light should physically sit inside the furniture. A recessed channel, a narrow cabinet edge, and an exposed underside do not necessarily call for the same construction.
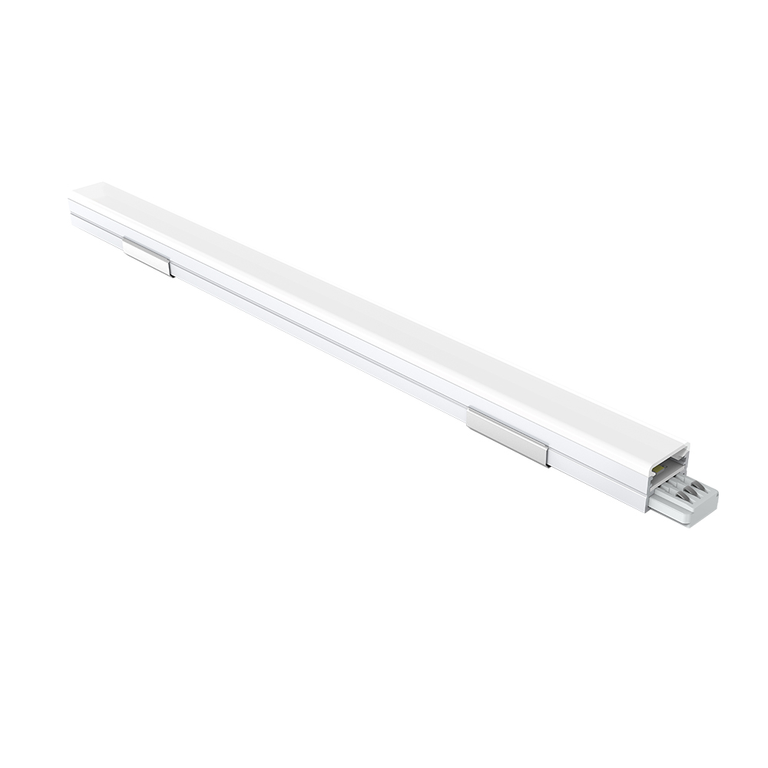
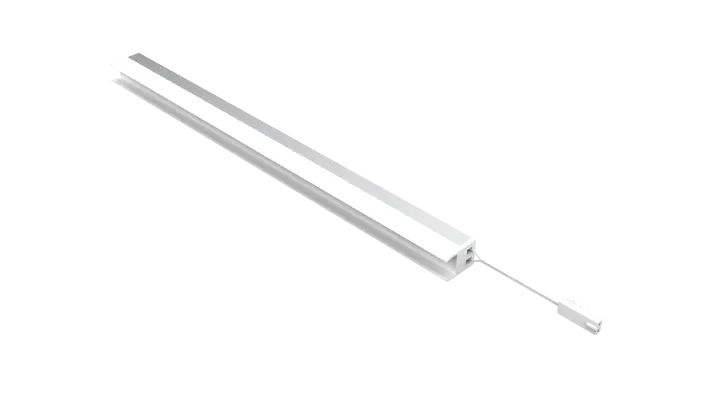
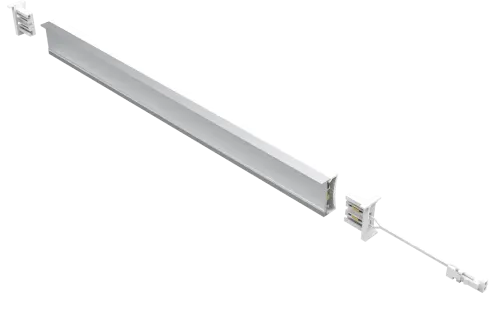
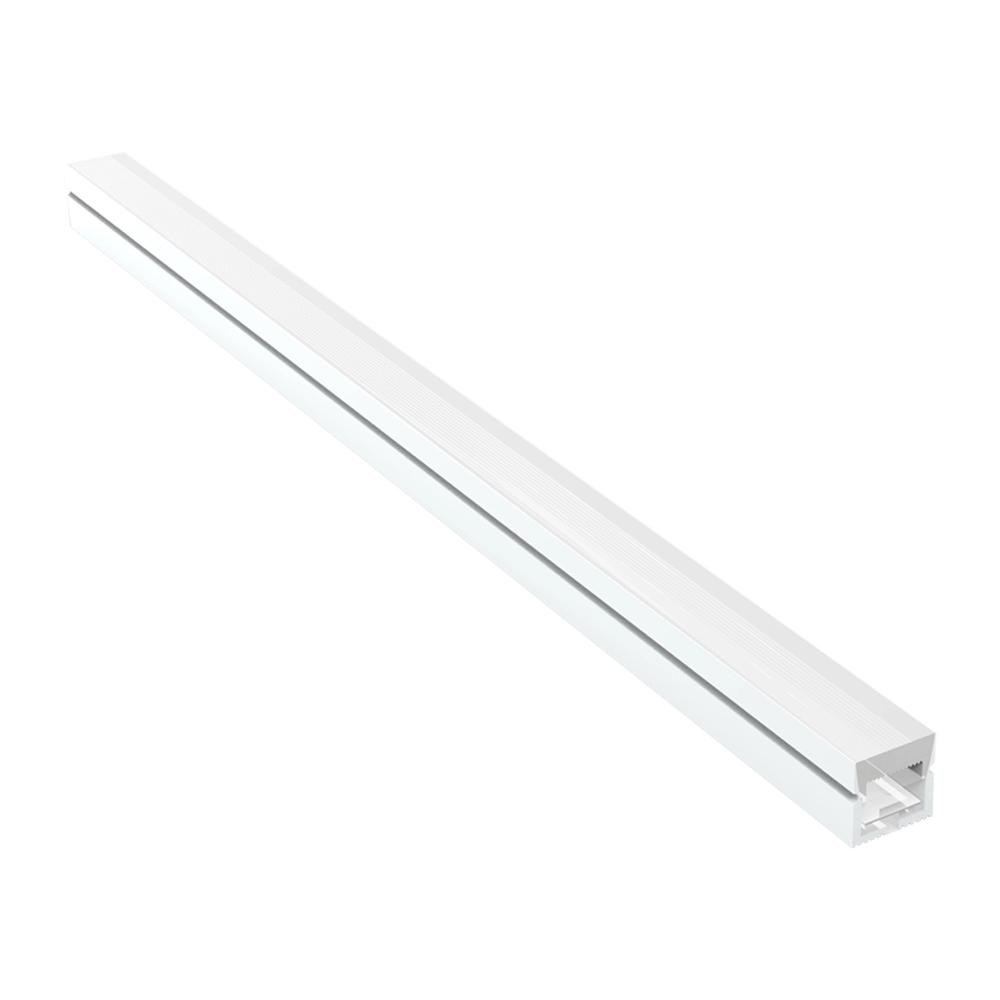
An aluminum-profile furniture light can provide a defined housing when the cabinet has a suitable recess or mounting surface. LEDIA’s furniture range includes the F01, F02, and F03 built-in and free-cutting aluminum-profile strip lights. The same category also includes several built-in silicone options, including E01, E07, E08, E11, and E13.
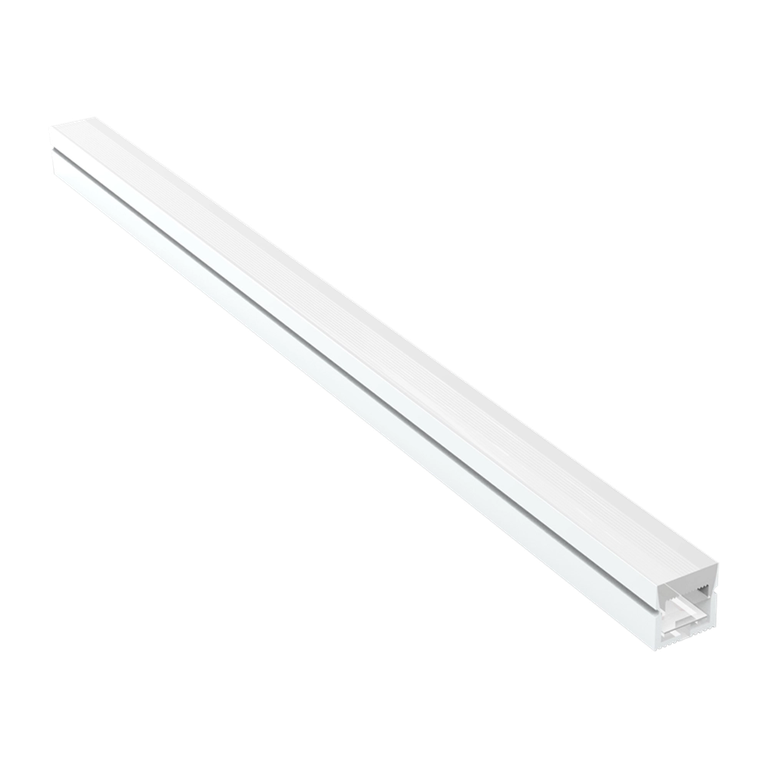
A built-in silicone format becomes useful where the design calls for a softer or more integrated lighting line. The point is not that one construction is universally better than another. The physical detail should determine which format can disappear into the furniture most naturally.
For designers and contractors, this distinction should be resolved before fabrication. Once the panel has been manufactured, changing the required channel depth or mounting method can become considerably more difficult than making the same decision during the drawing stage.
The Light Line Has to Follow Real Furniture Dimensions
Furniture rarely comes in one standard size across an entire project. A hotel wardrobe may contain several cabinet widths. A residential kitchen can have a mixture of wall units, base cabinets, and open shelving. Retail furniture may be built around individual display dimensions.
That makes cutting flexibility particularly relevant. LEDIA’s furniture category includes free-cutting aluminum-profile products, allowing the lighting format to be matched more closely to individual furniture dimensions rather than treating every run as a fixed-length fixture.
The same planning principle applies to bendable LED strip solutions. If the lighting route changes direction or needs to follow a particular furniture contour, the product’s physical flexibility needs to be checked against the actual installation geometry rather than assumed from the word “flexible.”
Length should also be documented on the furniture drawing. Each lighting section should have a defined start and end point, with connection positions identified before material is ordered.
That approach gives the workshop and installer the same reference. It also makes material quantities easier to estimate and reduces the risk of discovering at installation that a lighting section is slightly too long, too short, or positioned incorrectly.
Installation Details Should Be Solved Before the Furniture Arrives
A successful furniture lighting project depends on more than the visible fixture. Wiring, connectors, power supply space, access points, and mounting details all need to be considered while the furniture is being fabricated.
LEDIA’s F01 furniture lighting, for example, is listed with a quick plug-in terminal and a soldering-free installation approach. The product is designed for furniture applications including wardrobes, closets, kitchen cabinets, built-in furniture, and retail environments.
Such details matter because the installer may have limited access once the furniture has been assembled. A connection method that is straightforward on an open workbench can become much less convenient after panels, shelves, and doors are in their final positions.
The installation sequence should therefore be discussed between the furniture manufacturer, lighting supplier, electrical contractor, and installer. A few connection decisions made before production can prevent unnecessary modification on site.
The Finished Furniture Should Look Designed, Not Retrofitted
The final test is visual. A good furniture lighting installation should appear to belong to the furniture rather than looking like a separate light source attached to it.
That means the visible diffuser, profile, lighting direction, and position all need to work with the furniture’s proportions. A light placed too close to an edge can create unwanted glare. A fixture that sits too far inside a cabinet may fail to illuminate the intended area. A visible housing can also change the appearance of a carefully designed cabinet detail.
Equipping project teams with multiple built-in formats rather than restricting specifications to a single fixture construction is how we approach our furniture range at LEDIA Lighting. Combining aluminum-profile furniture lights with built-in silicone solutions allows us to deliver distinct physical approaches for furniture and retail applications.
That flexibility is particularly useful when one project contains several furniture types. A wardrobe, kitchen cabinet, and retail display do not need to use exactly the same fixture simply for the sake of standardization. The more useful objective is to standardize the specification process while allowing the physical product to follow each furniture detail.
The transition from design idea to installation becomes much easier once the lighting is treated as part of the furniture rather than an accessory added afterward. Start with the furniture drawing, establish the lighting route, select the appropriate built-in format, confirm the actual dimensions, and settle the connection details before production.
By guiding buyers as they evaluate LED light strips for furniture, we make it easier to narrow down specifications without treating lighting as an afterthought. We also help contractors handling a bendable LED strip see a clear, direct link between what is drawn on paper and what actually gets built on-site.
Built-in aluminum and silicone options form the core of our dedicated furniture category at LEDIA Lighting, empowering the project-driven mindset we bring to every space. By planning the illumination directly into the furniture design from the outset, we help the finished installation looks cohesive.