



-
Recessed Lighting Spacing for Kitchens and Living Rooms
Master the perfect recessed lighting layout. Learn how to space ceiling lights in your kitchen and living room to eliminate shadows and create the ideal ambiance.Read more -
4-Inch vs. 6-Inch Recessed Lighting: How to Choose the Right Size for Your Ceiling
Deciding between 4-inch and 6-inch recessed lights? Discover the best size for your ceiling height, room style, and lighting goals in this comprehensive guide.Read more -
2026 Lighting Power Density: Energy Code Compliance Path, Energy Codes (with LPD Calculator & 2026 Section 179 Calculator)
The latest 2026 Lighting Power Density (LPD) requirements. A comprehensive guide to energy codes for sustainable commercial lighting.Read more
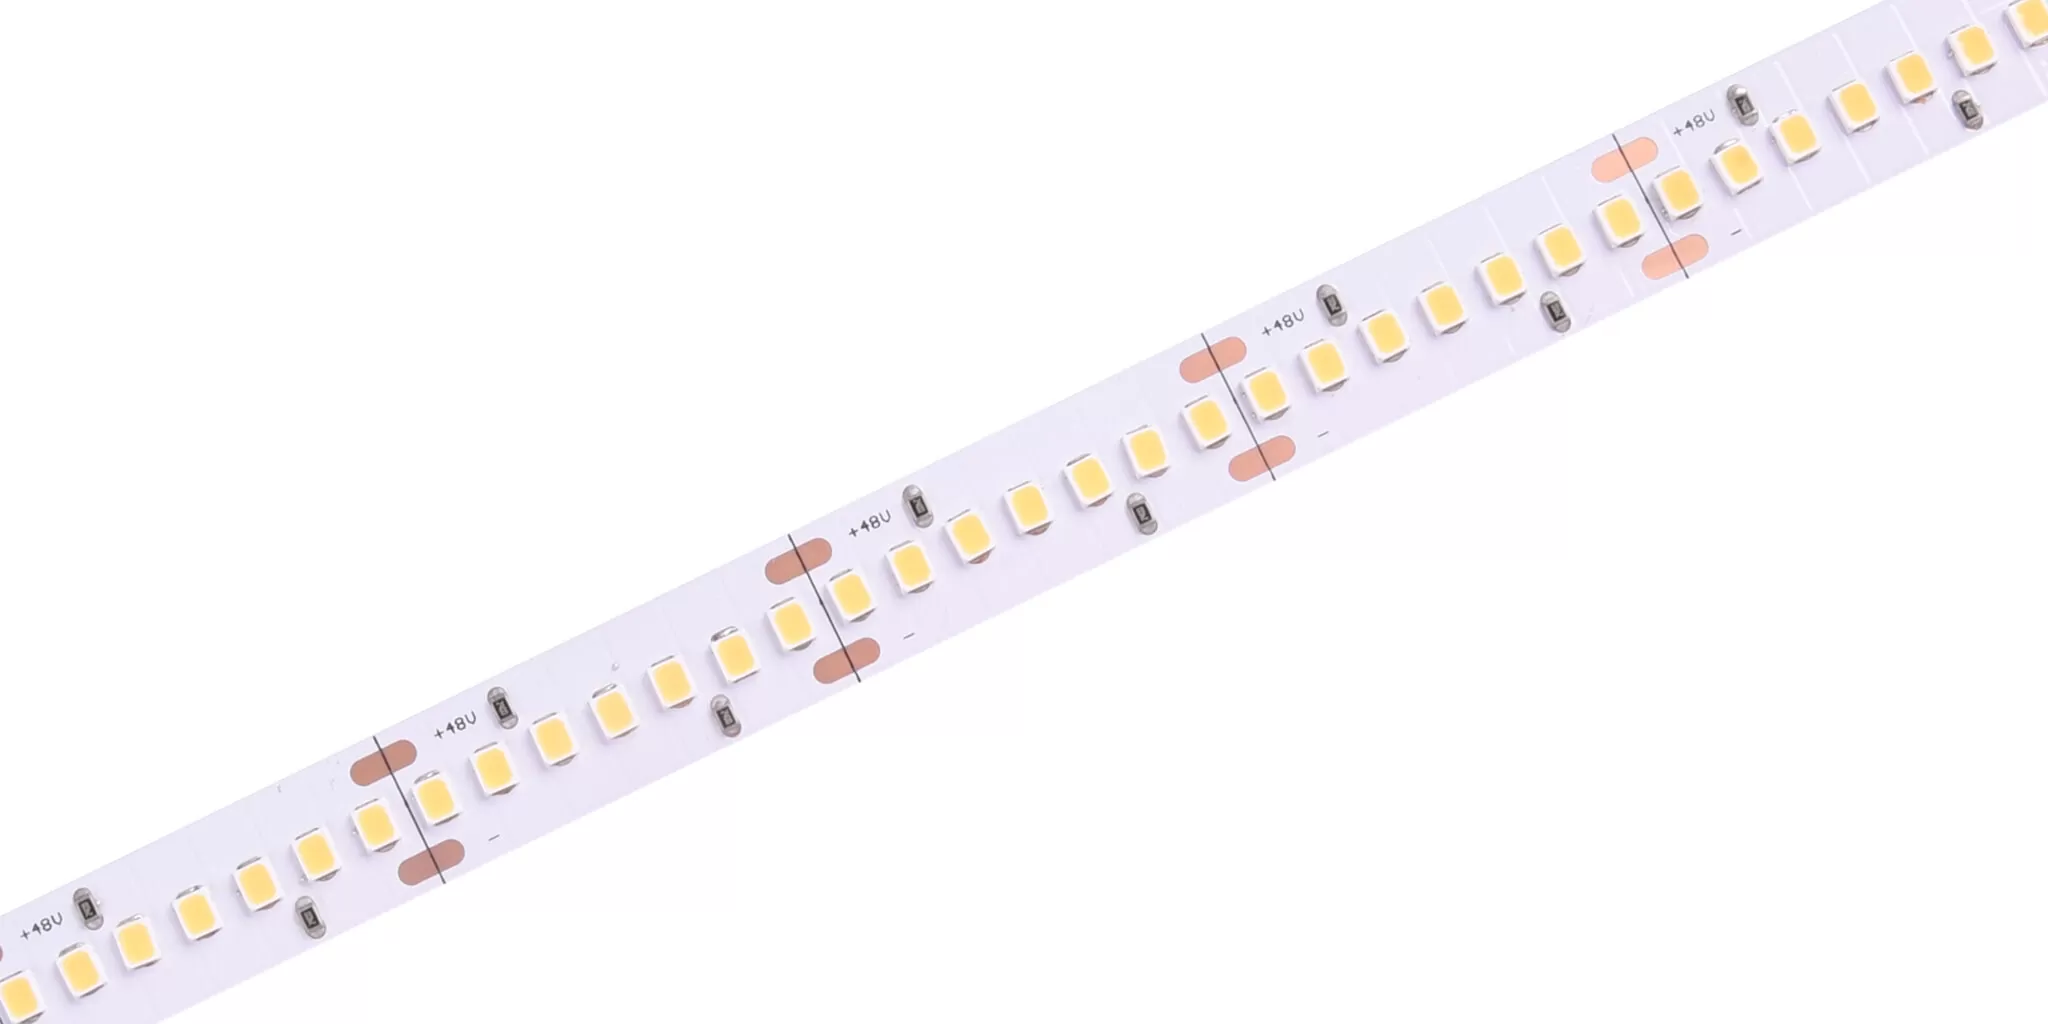
Designing and Installing LED Ceiling Lights Strip for Curved or Vaulted Ceilings
- 5 Mar 2026
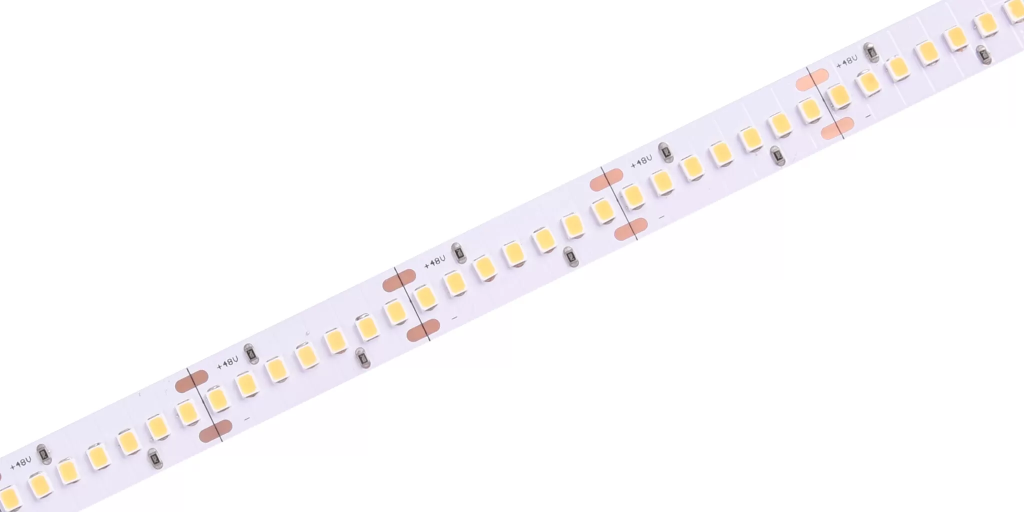
Offering premium lighting solutions, such as our High Efficacy Series of LED light strips, is our mission at LEDIA Lighting. How to properly design and install a strip light system for curved or vaulted ceilings is an intriguing problem that many designers and installers encounter. This article describes important factors to take into account and how to use our adaptable LED ceiling light strip to create a beautiful lighting array.
Understanding the Unique Characteristics of Curved Ceilings
Before installing LED ceiling lights strips on curved or vaulted ceilings, it is essential to understand the unique characteristics of these surfaces. Curved ceilings may involve gentle arcs or sharp angles, both of which require careful planning for the installation of LED light strips. Our LED light strips are flexible enough to accommodate a variety of shapes, making them an ideal choice for these applications.
To begin the design process, measure the dimensions of the ceiling carefully. Determine where the light will be most effective and aesthetically pleasing. For vaulted ceilings, consider the height at which the LED ceiling lights strip will be installed, as this will influence the intensity and spread of the light.
Preparing for Installation
Once the design has been finalized, preparation is key. Gather all necessary materials, including the LED light strips themselves, mounting clips, a compatible LED power supply, and any additional connectors or adhesive tape.
One important aspect of installation is ensuring that the LED strips can be securely attached to the ceiling. For curved surfaces, we recommend using strong adhesive backing, which many of our High Efficacy Series LED light strips come with. It is also beneficial to test a small section of the tape on the surface before full installation to ensure an adequate bond.
For enhanced security, consider using additional mounting clips or brackets that can help support the weight of the LED ceiling lights strip along the curve of the ceiling. This ensures that the strips remain firmly in place, creating a seamless appearance.
Installation Techniques for Curved Ceilings
When it comes to installing LED ceiling lights strips on a curved ceiling, the following techniques can greatly enhance usability and aesthetics:
Gentle Bending: Our LED light strips are designed to be flexible, allowing you to bend and shape them to fit the contours of the ceiling. When bending, apply gentle pressure and follow the curve carefully. Avoid sharp bends that could damage the LED chips.
Work in Sections: For larger installations, it’s advisable to work in manageable sections. This approach allows for adjustments and ensures that the strips are aligned correctly as they follow the curve.
Testing Light Output: Before finalizing the installation, temporarily connect the LED ceiling lights strip to power to verify the light output and coverage. This step can save time by allowing for adjustments before the adhesive sets completely.
Conclusion
Designing and installing an LED ceiling lights strip system for curved or vaulted ceilings presents unique challenges, but with the right techniques and products, it can also yield stunning results.
By following the guidelines outlined in this article, lighting professionals can create elegant and seamless installations that enhance the architecture of any room. Trust LEDIA Lighting to provide lighting solutions that not only meet performance expectations but also elevate the aesthetic appeal of your environment. Illuminate your spaces with confidence and style using our exceptional LED products.